Inflammation of the Achilles tendon attachment – Step 3
Rehabilitation starts with the exercises in Step 1. When the exercises can be performed without pain, rehabilitation starts on the next step.
How often and for how long should I train? Training frequency and duration are individual. Start with about 3 repetitions per workout. exercise and at least 3 times a week. Slowly increase the number of repetitions and load without exceeding the pain threshold
Do I have to do the whole program every time? No, you can divide the exercises into different days. The most important thing is to exercise regularly and gradually increase the intensity
The time in minutes indicates the time distribution between stretching, balance and strength if you train for one hour. Whether you train for one hour or 10 minutes, for example, is adapted to your starting point – and can be increased over time.
This rehabilitation guide for Achilles tendon pain has been developed in collaboration withRikke Høffner, Postdoc, Sports Physiotherapist, Department of Sports Medicine, Bispebjerg Hospital.
Condition
Unrestricted: Cycling, swimming, light jogging on soft surfaces
Stretching
15 minutes of each training session
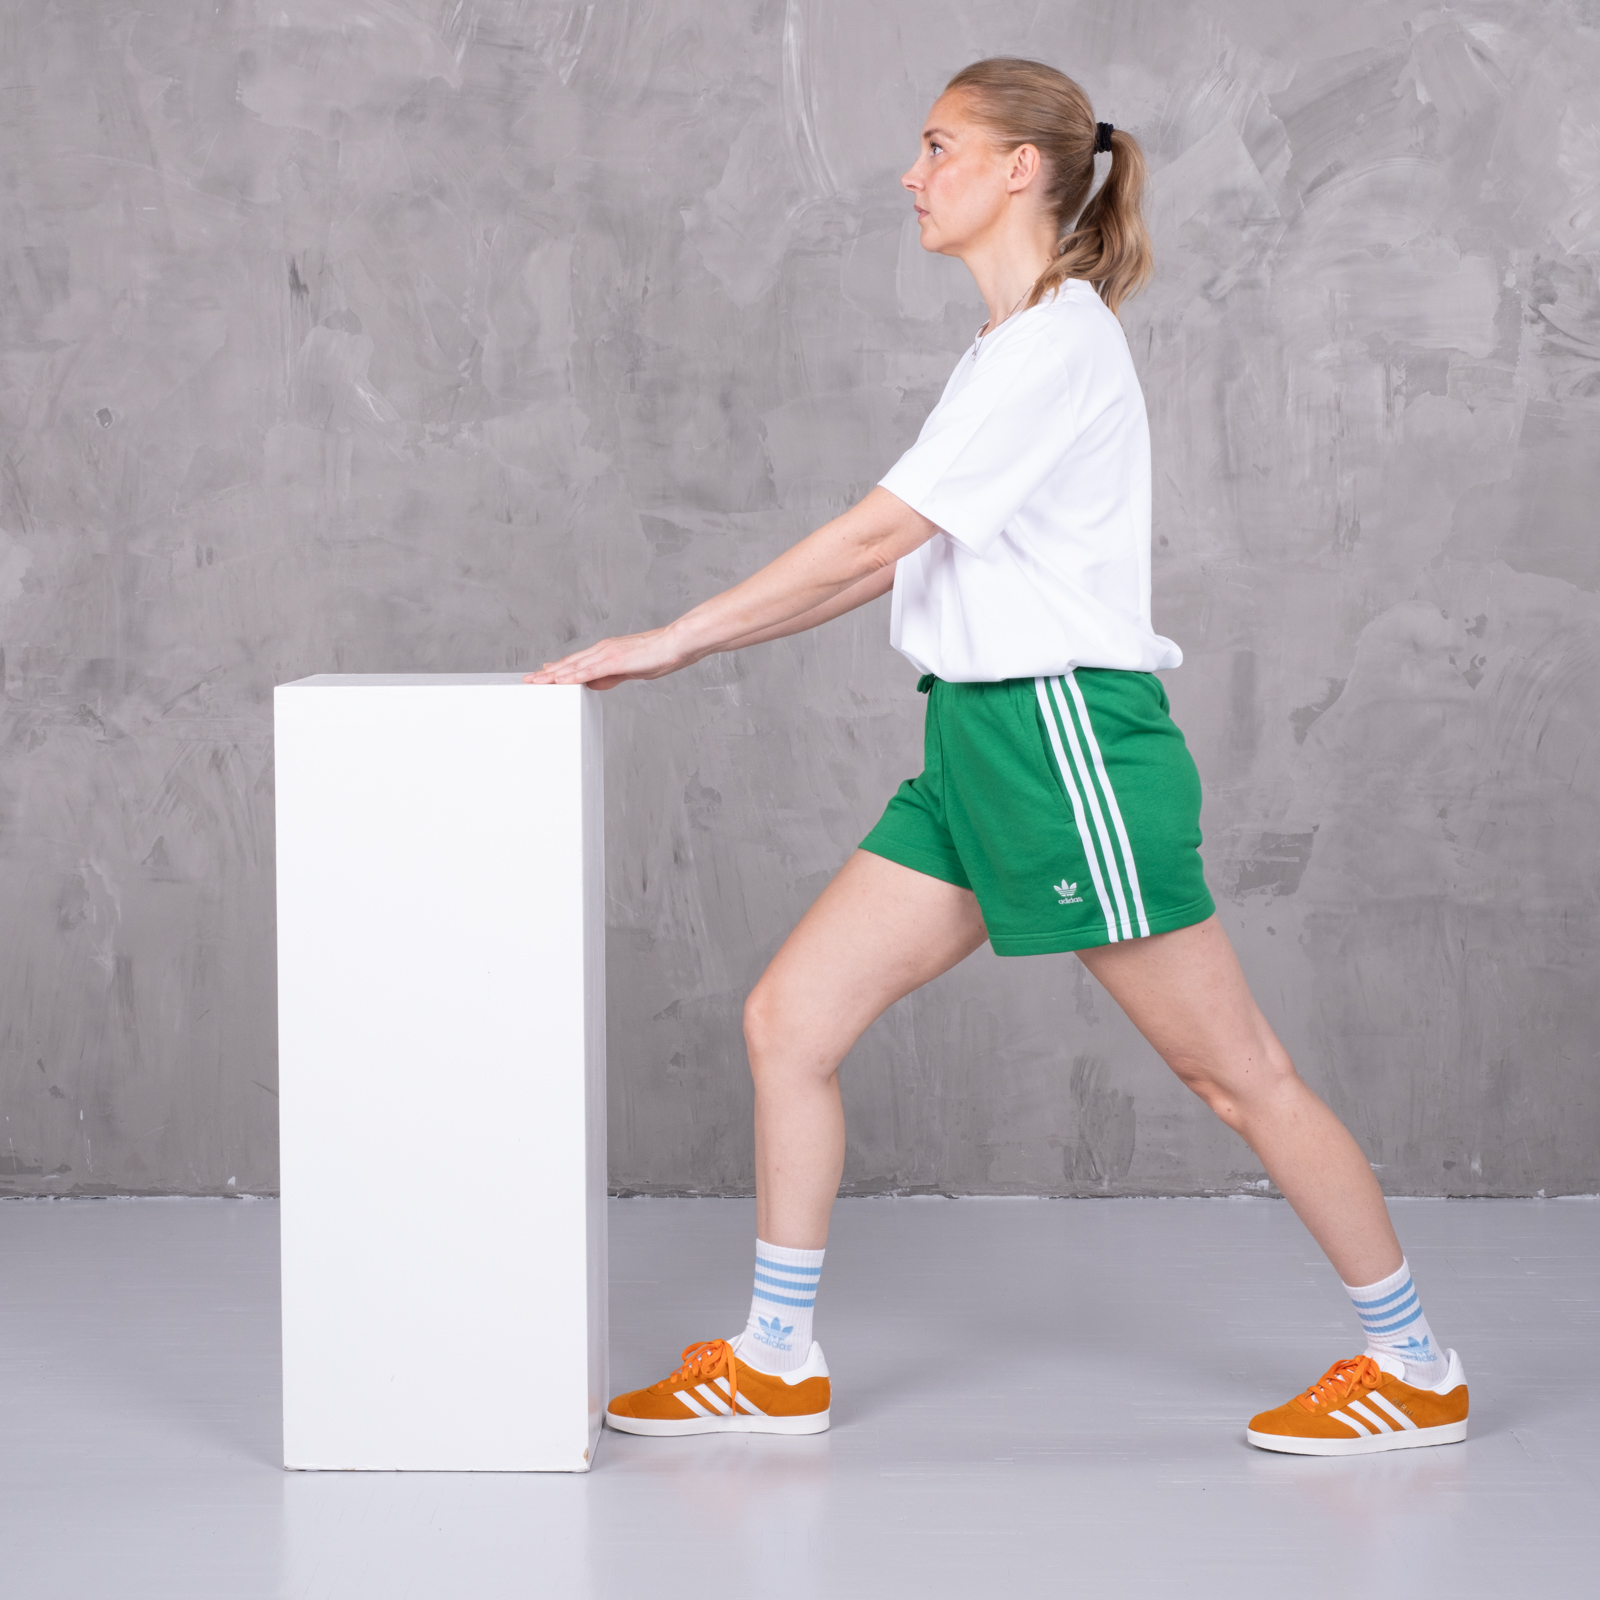
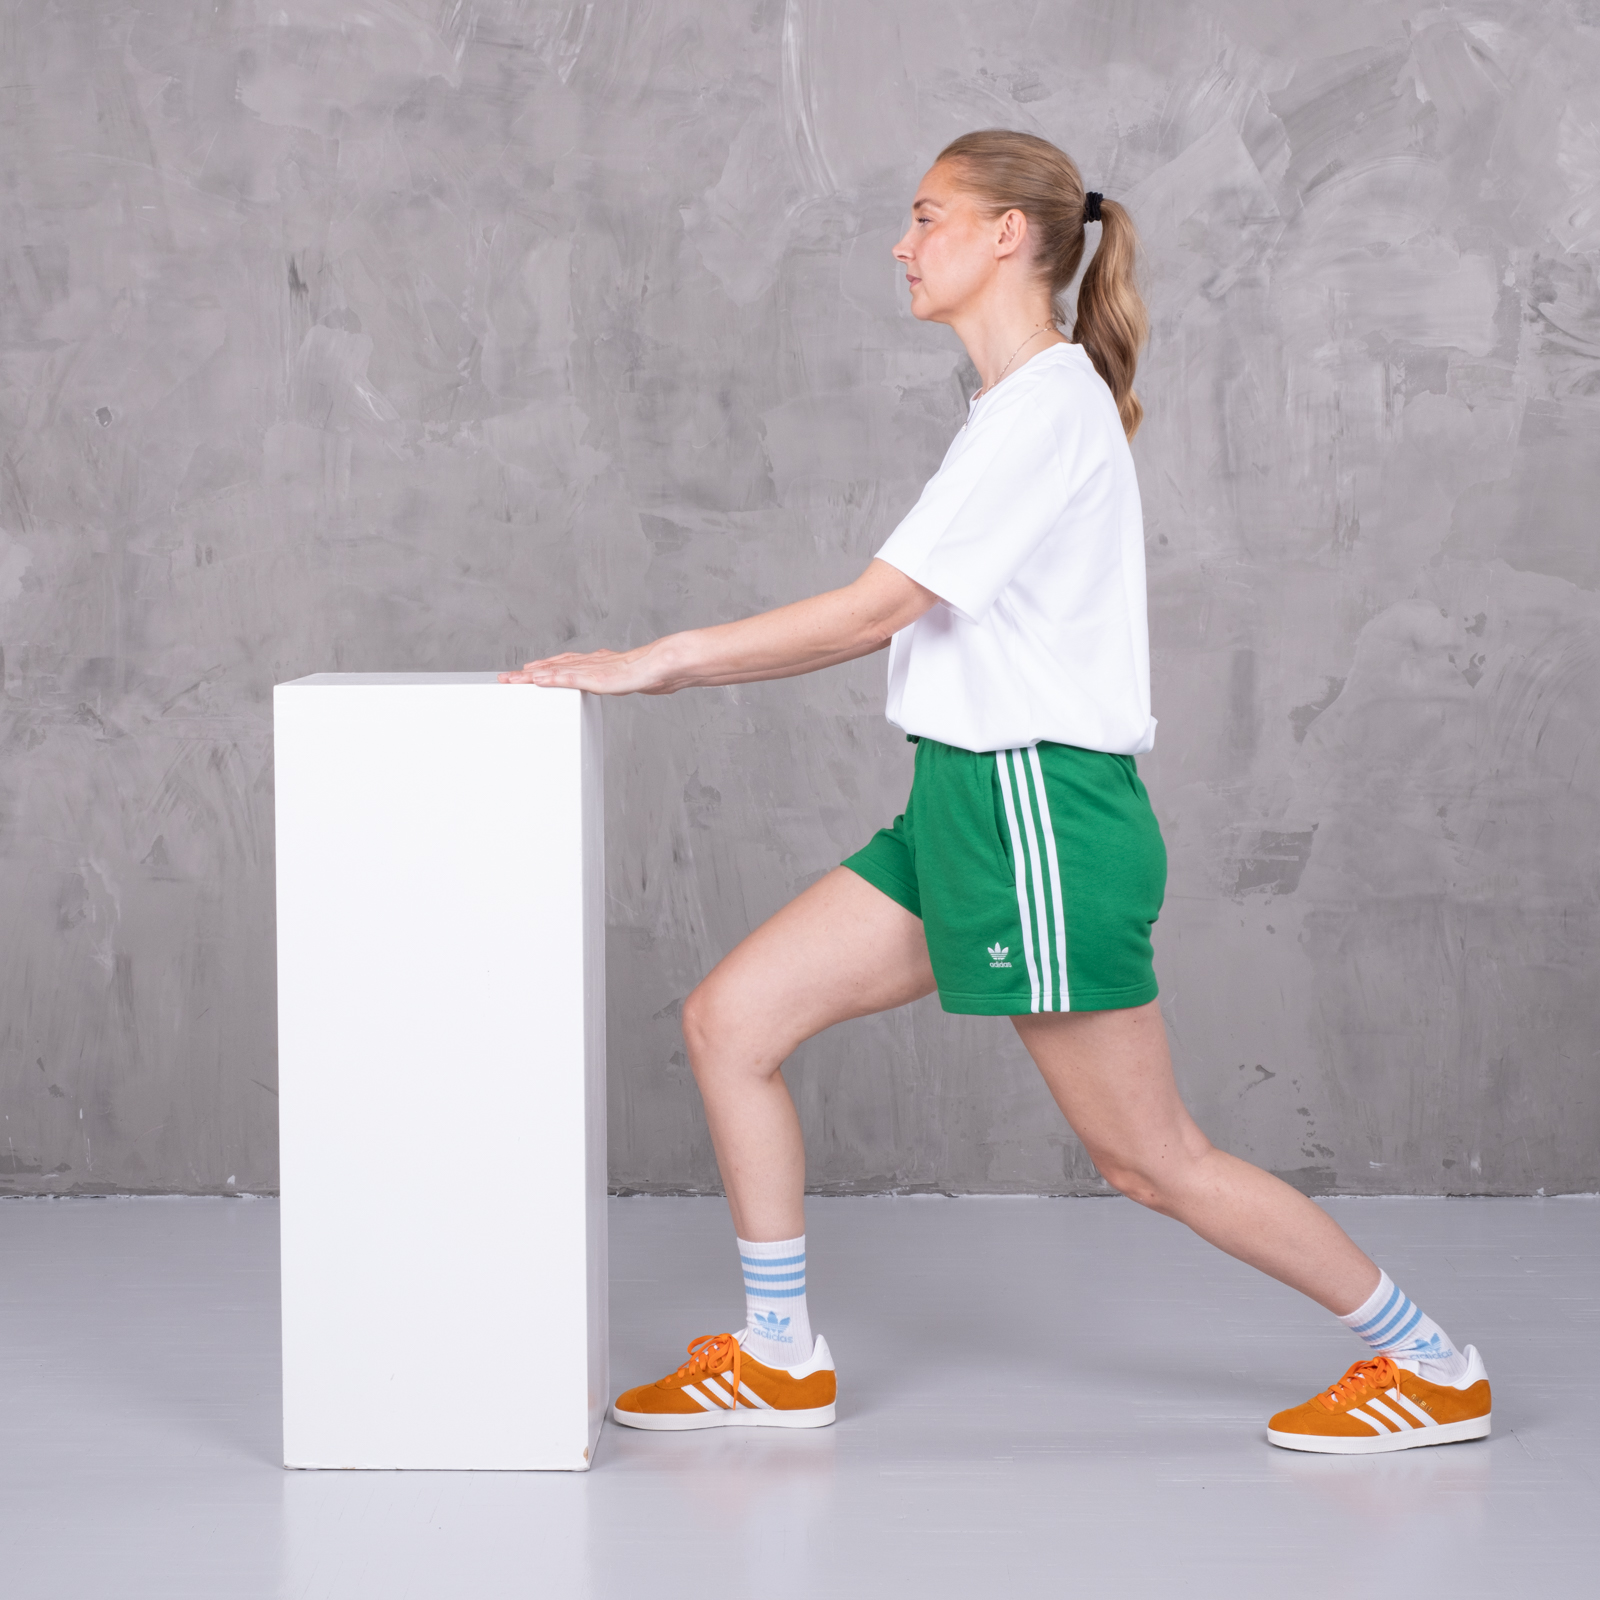
Stand in front of a wall with your training leg stretched backwards and your toes pointing forwards to tighten the calf muscle. Hold the stretch for 30 seconds. Slowly bend the knee of the training leg so that the calf muscle becomes increasingly stretched. Hold the stretch for 30 seconds, relax for 10 seconds and repeat the exercise a total of 3 times.
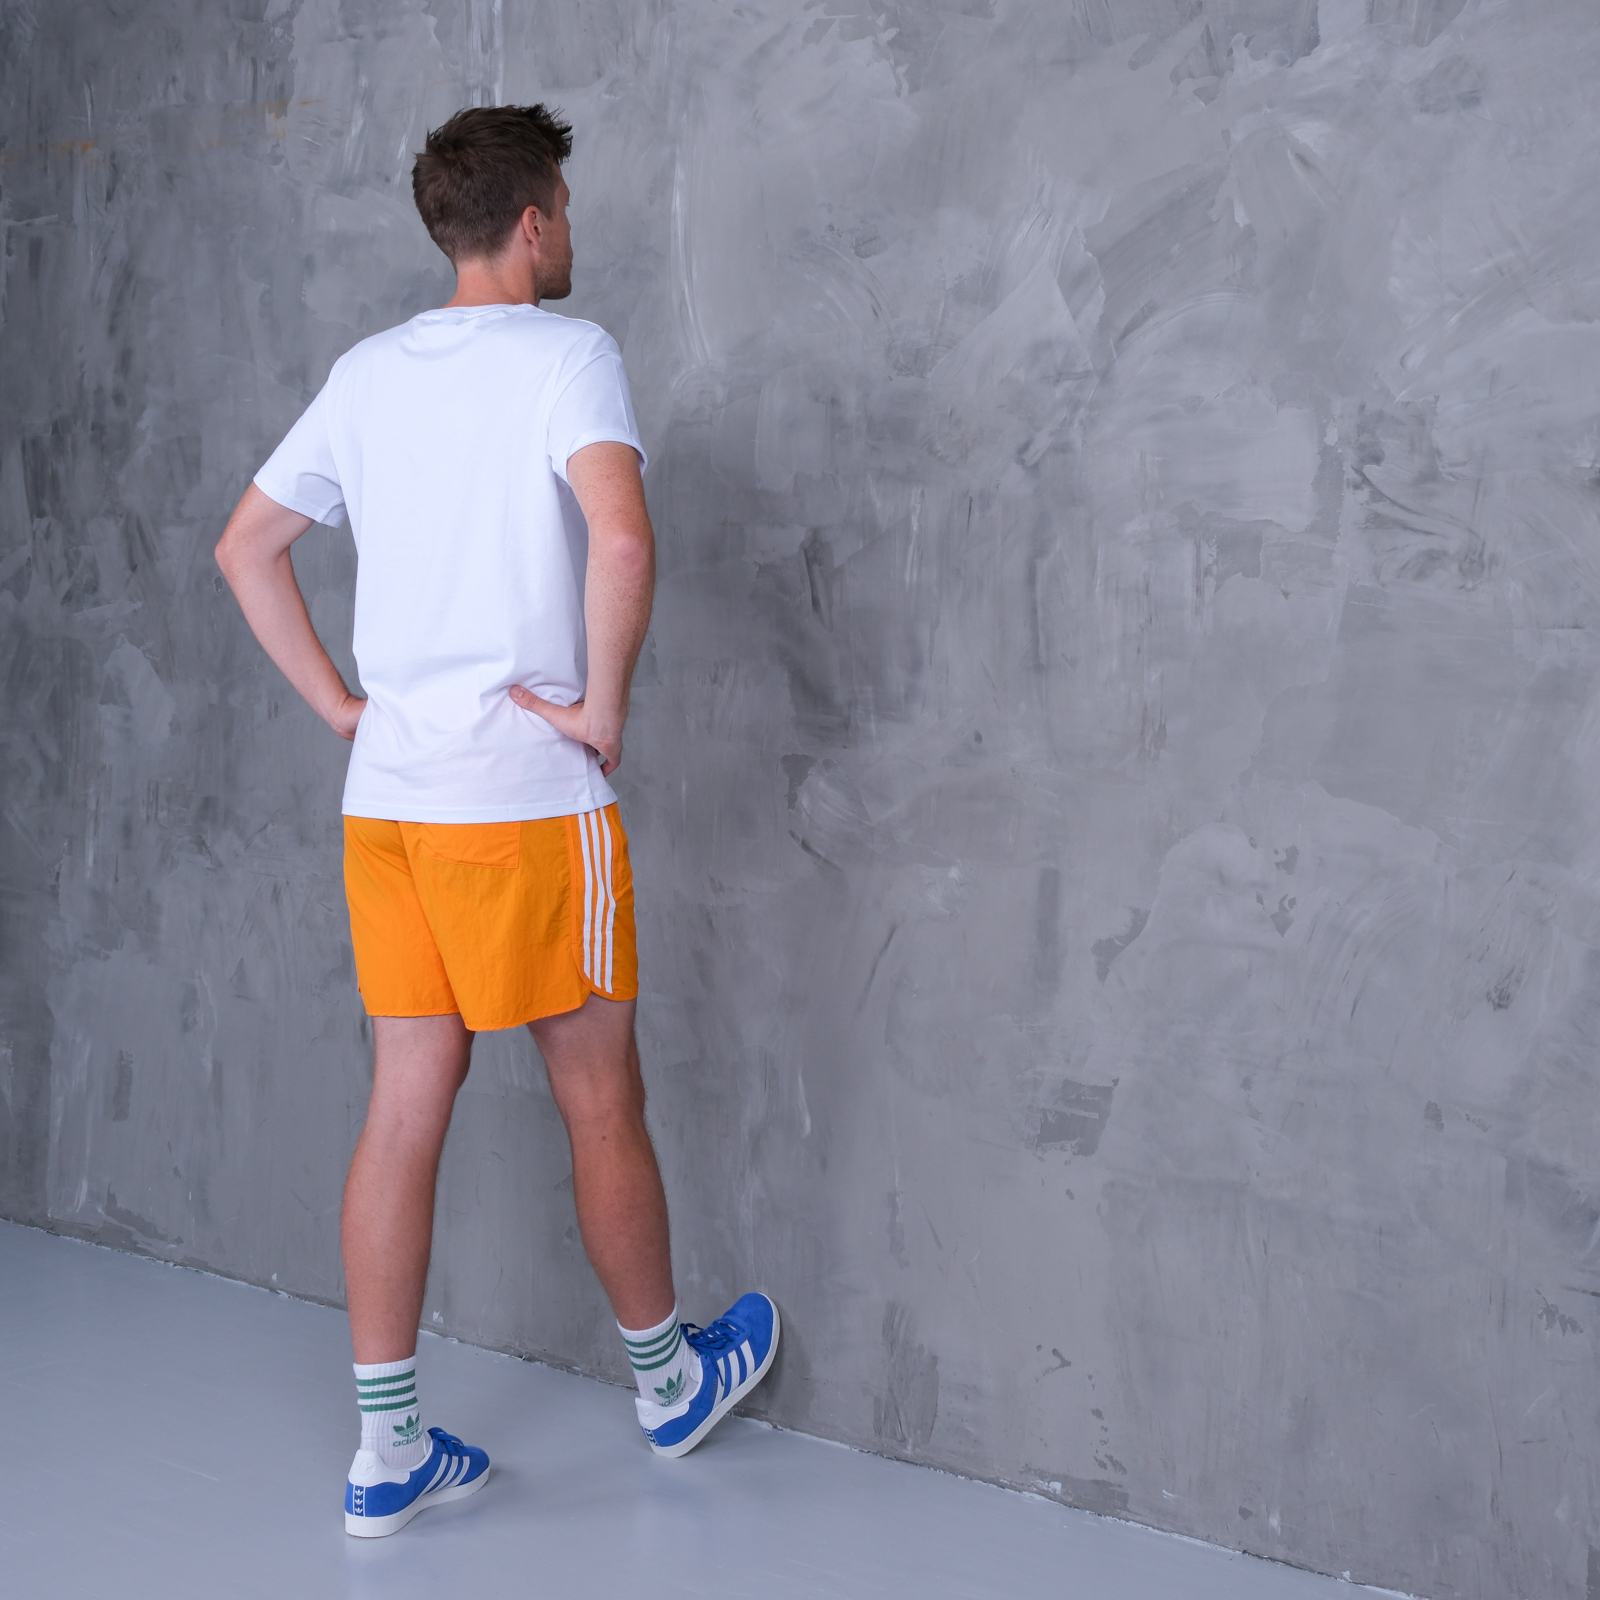
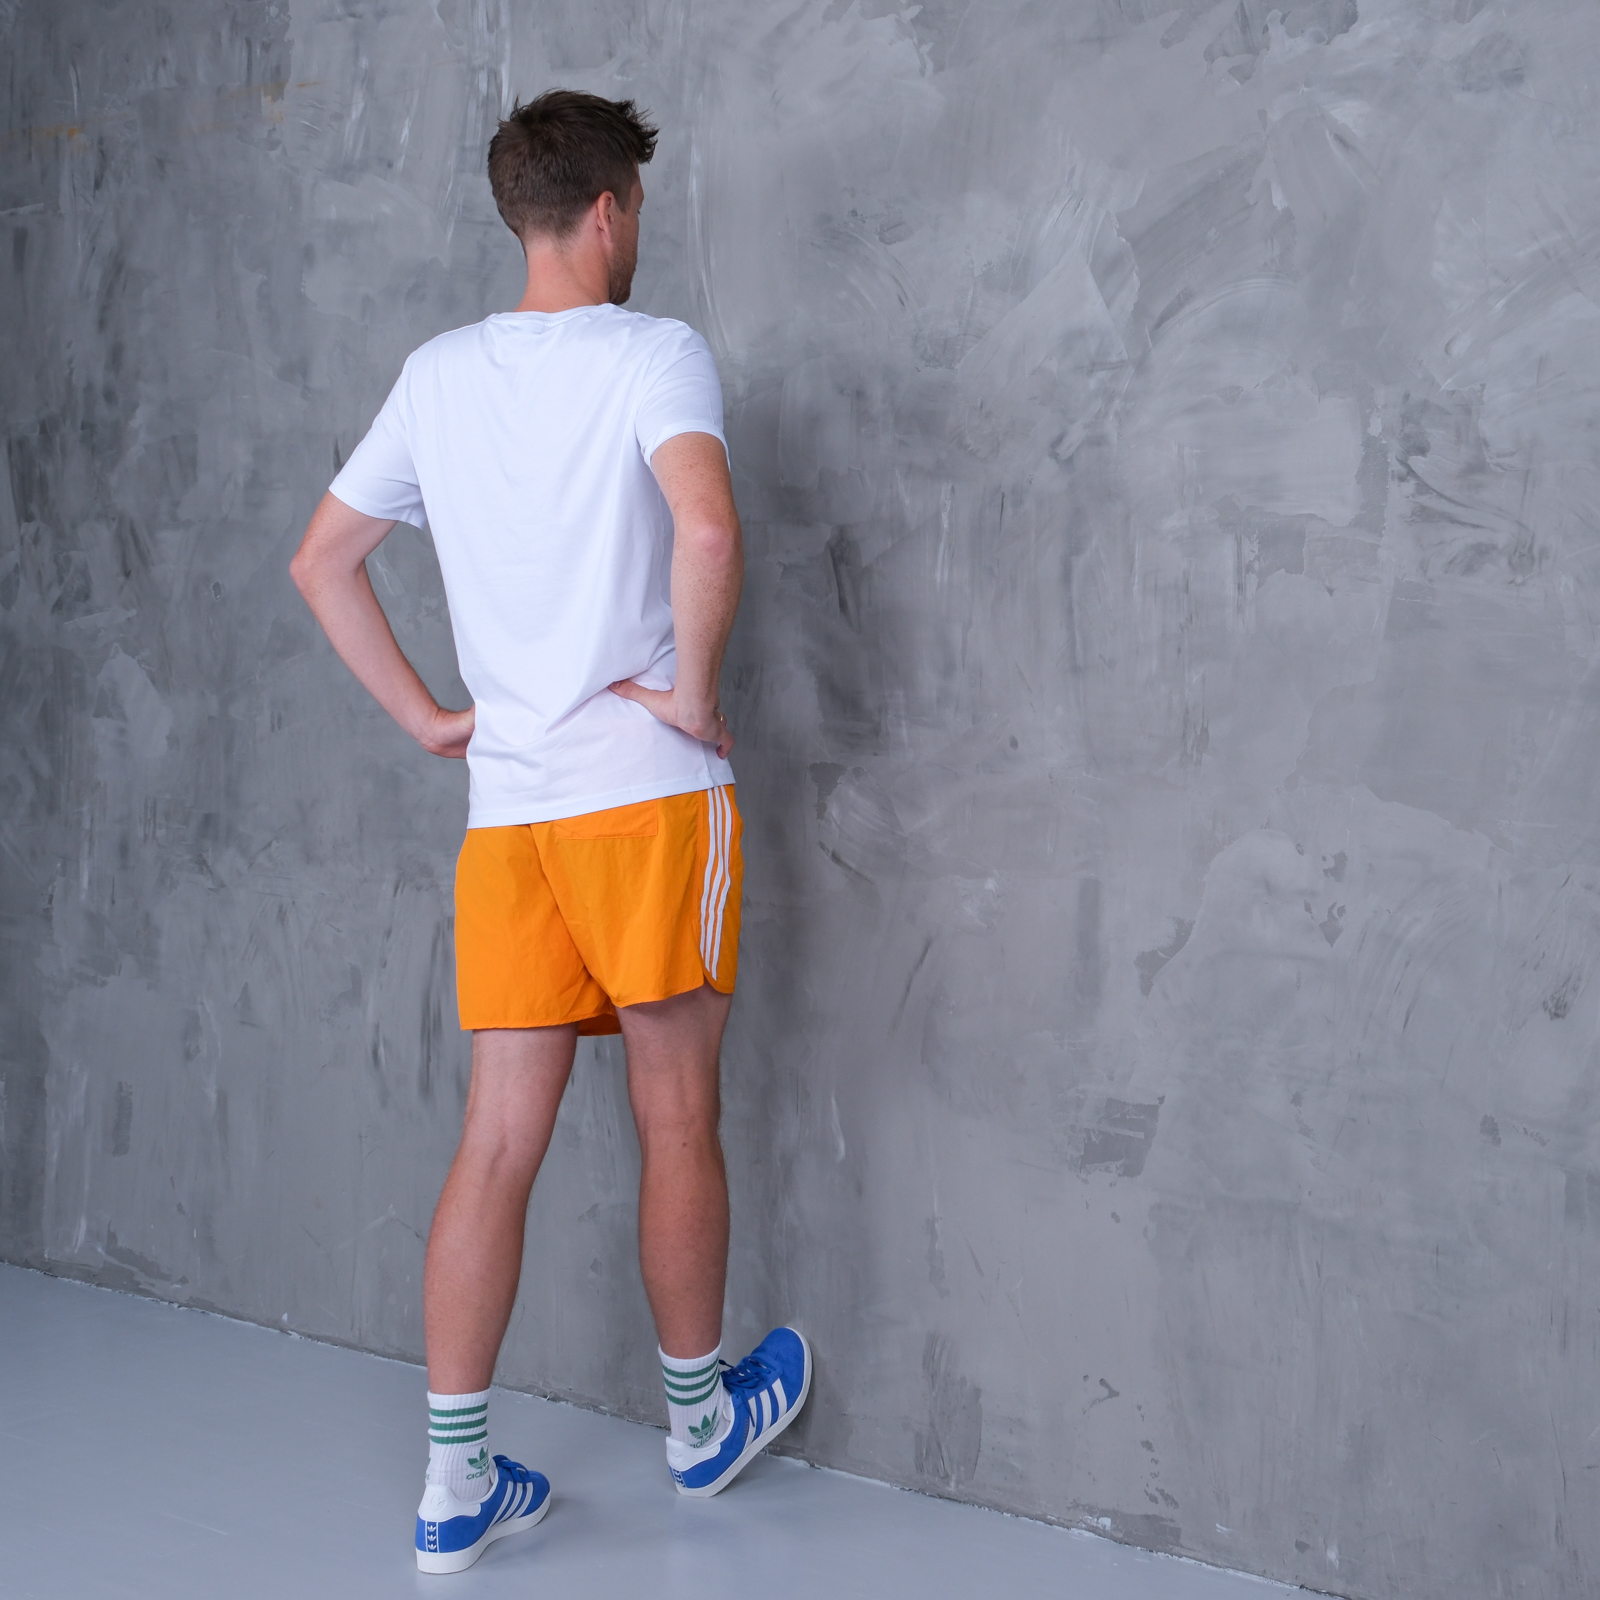
Stand with the training leg straight with the ankle bent up against the wall. Press your body against the wall so that the calf muscle becomes increasingly stretched. Hold the stretch for 30 seconds, relax for 10 seconds and repeat the exercise a total of 3 times.
Coordination
5 minutes of each training session
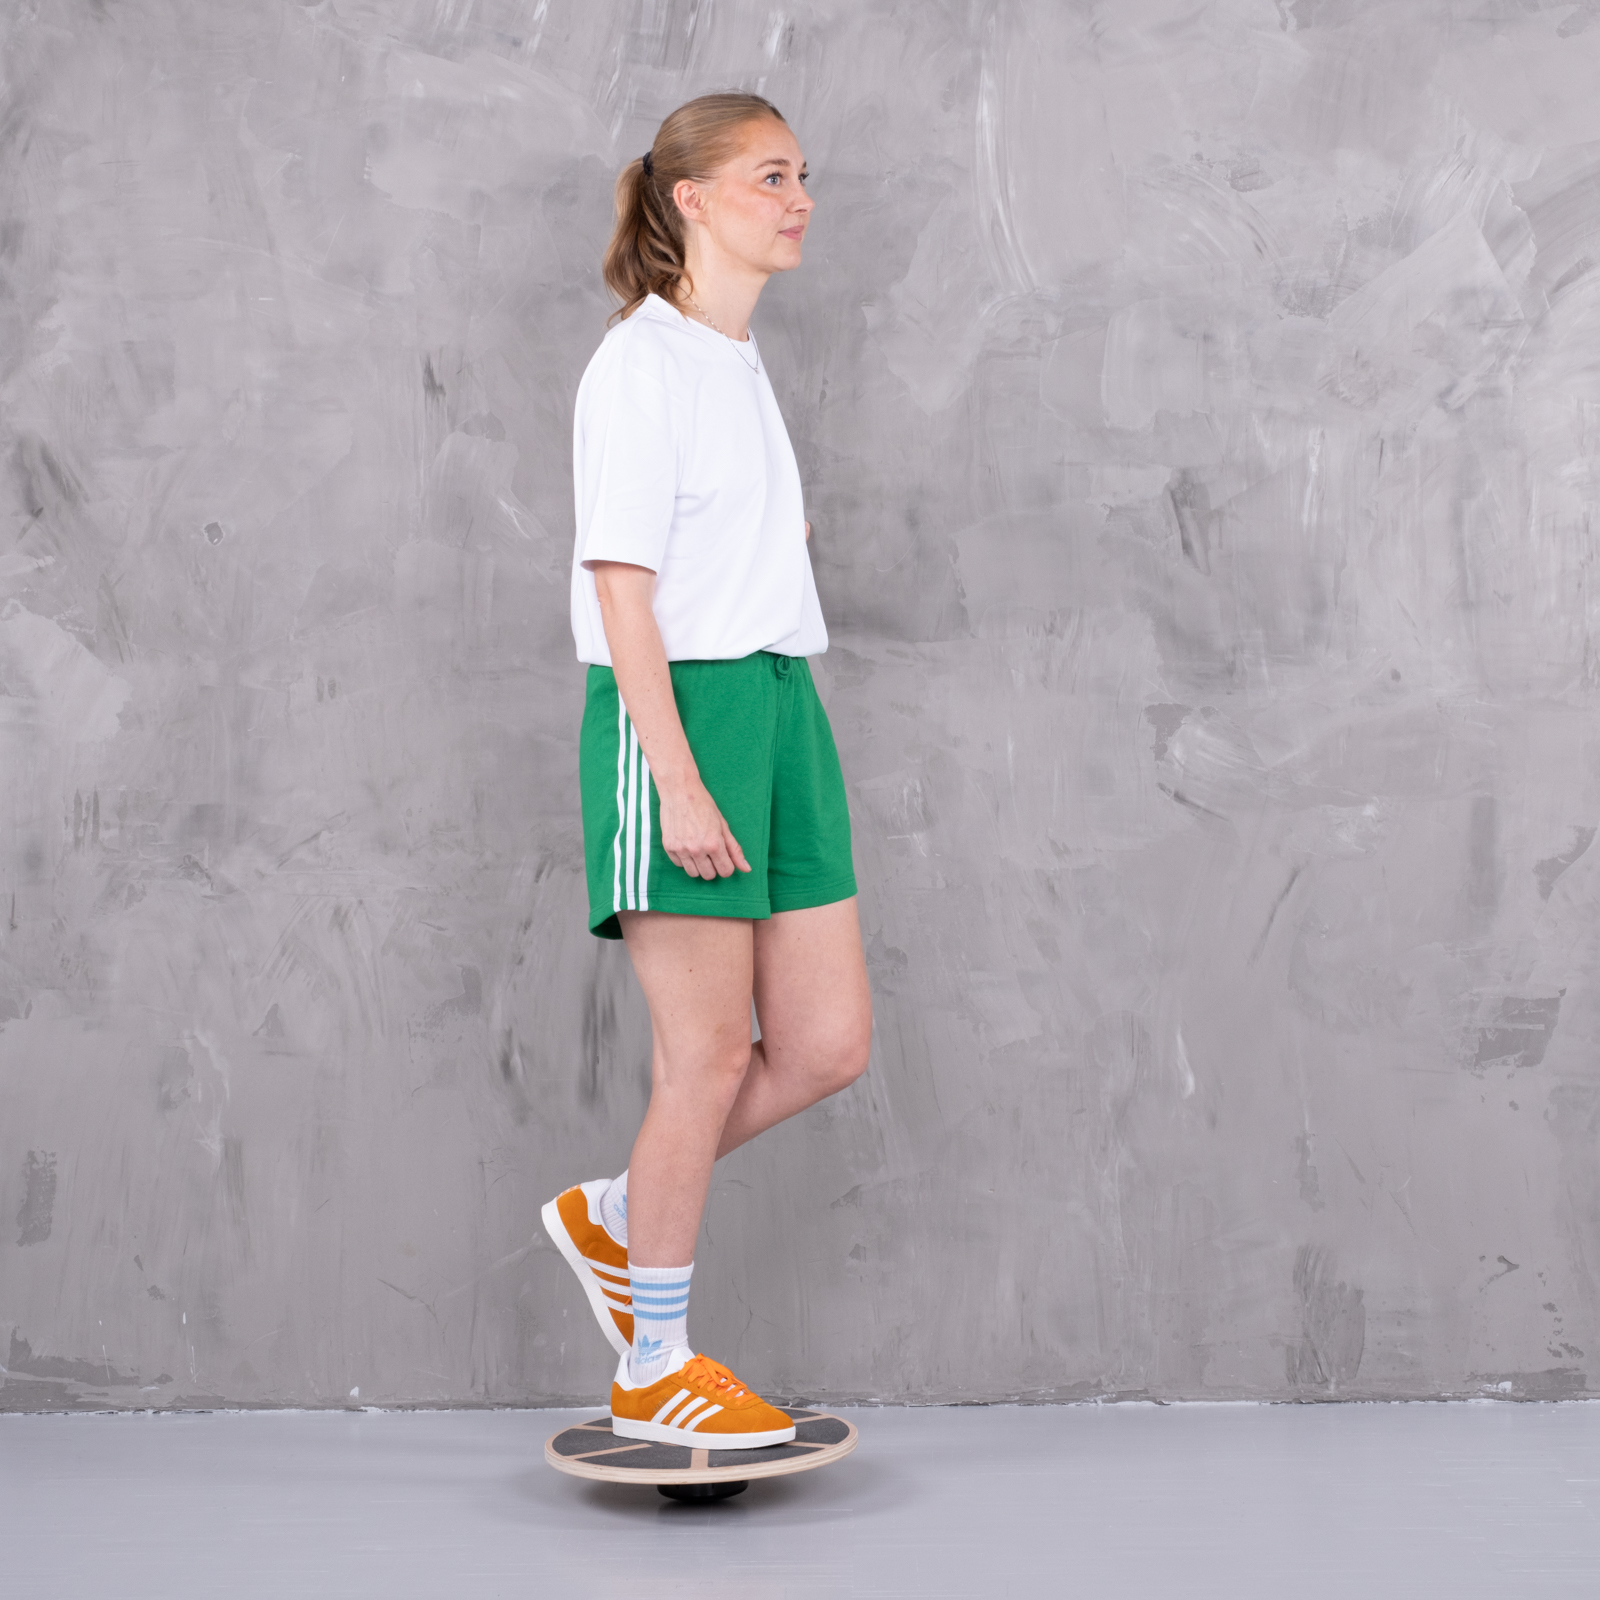
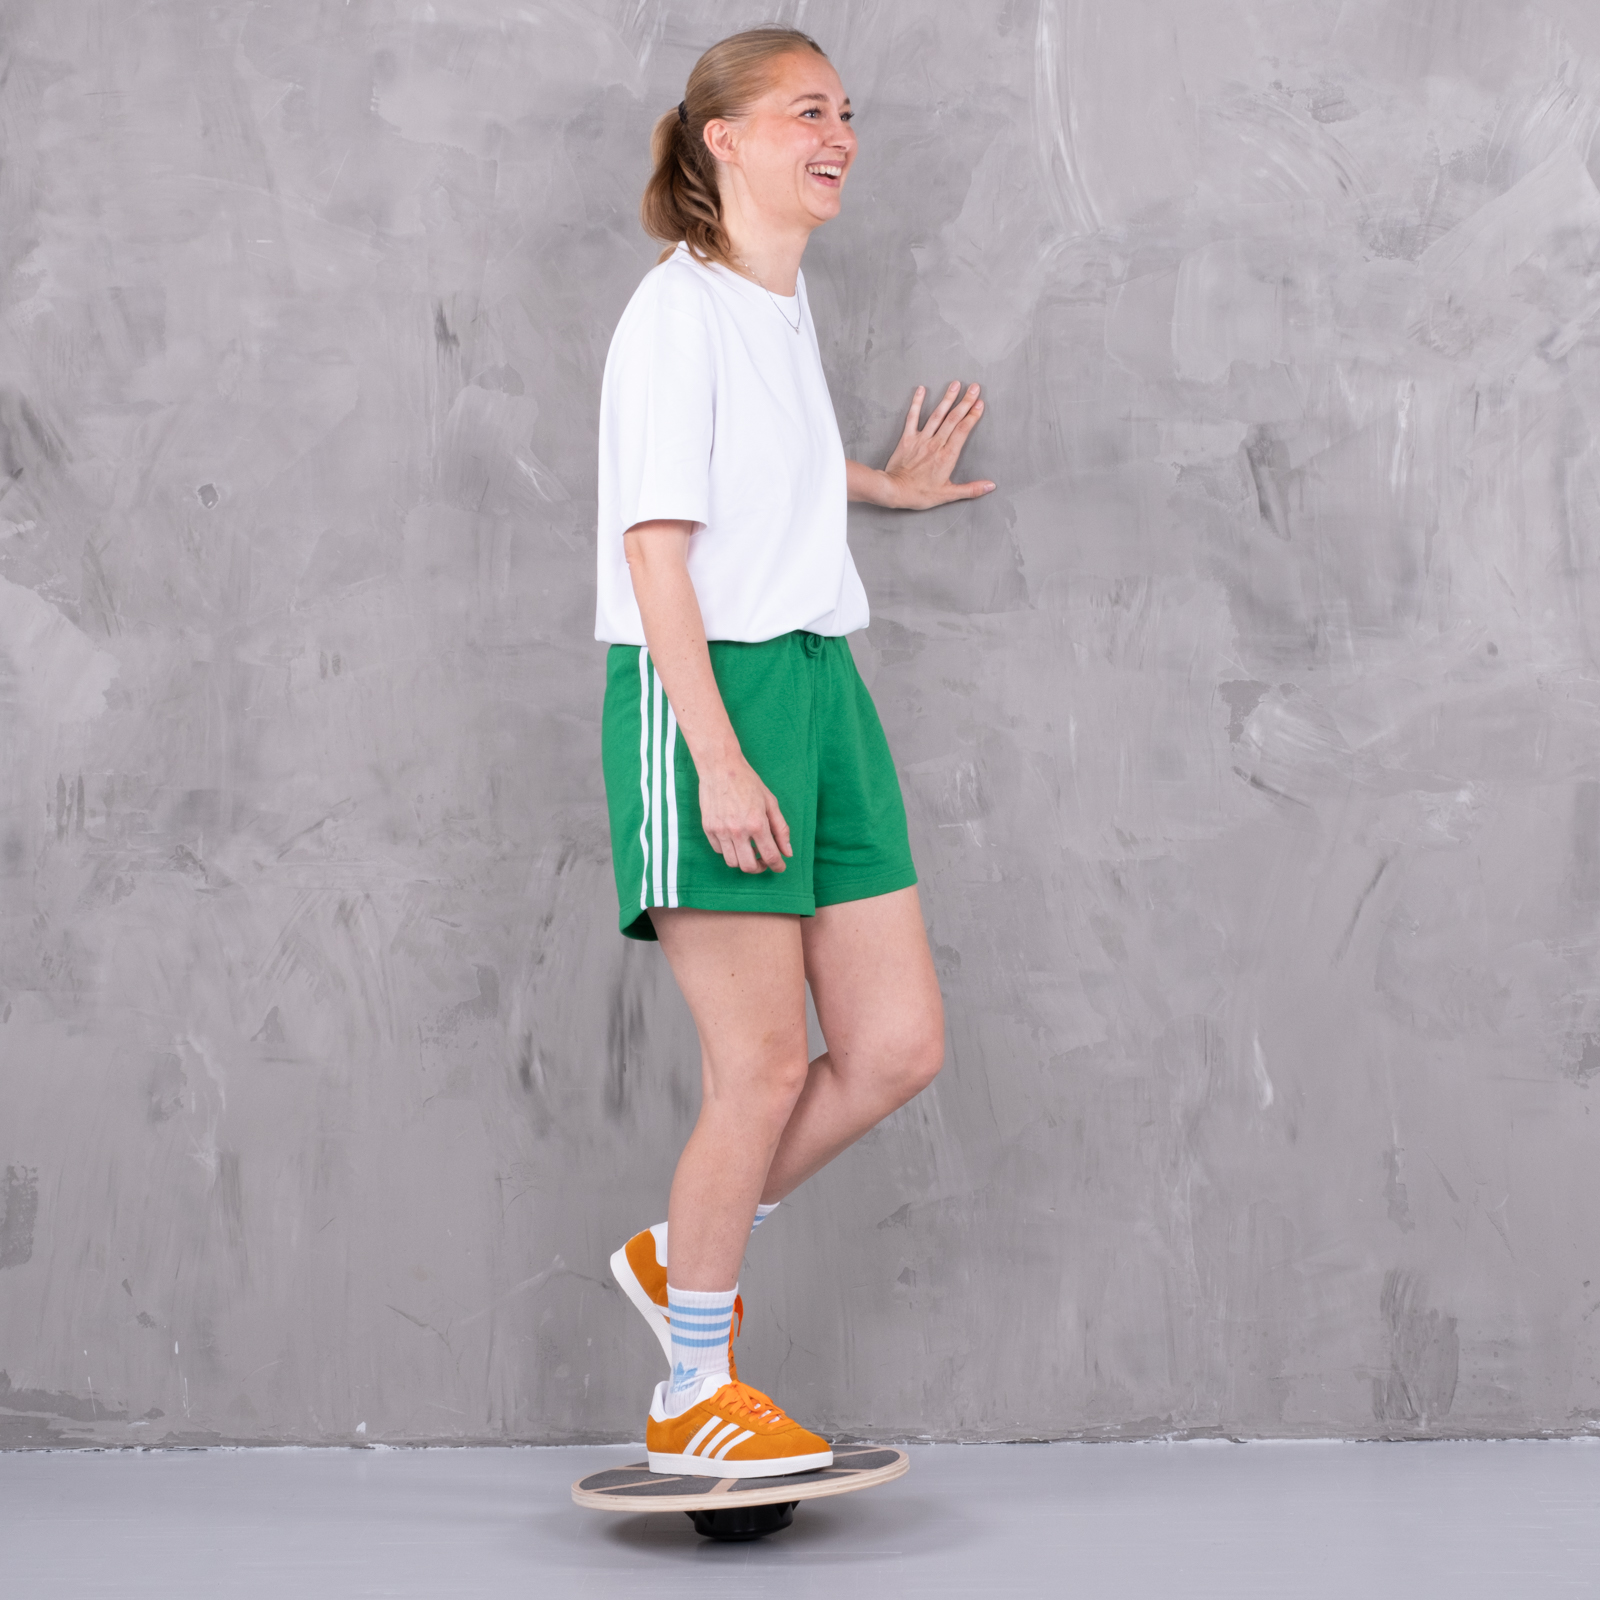
Balance on two feet on the balance board. To begin with, use your hand to support yourself against the wall. Later, balance on one foot without support. Try holding it later balancing with your eyes closed.
Stand on one leg, keeping your hip, knee and foot in a straight line. Bend your knee and hip until you can touch your toes with the opposite hand.
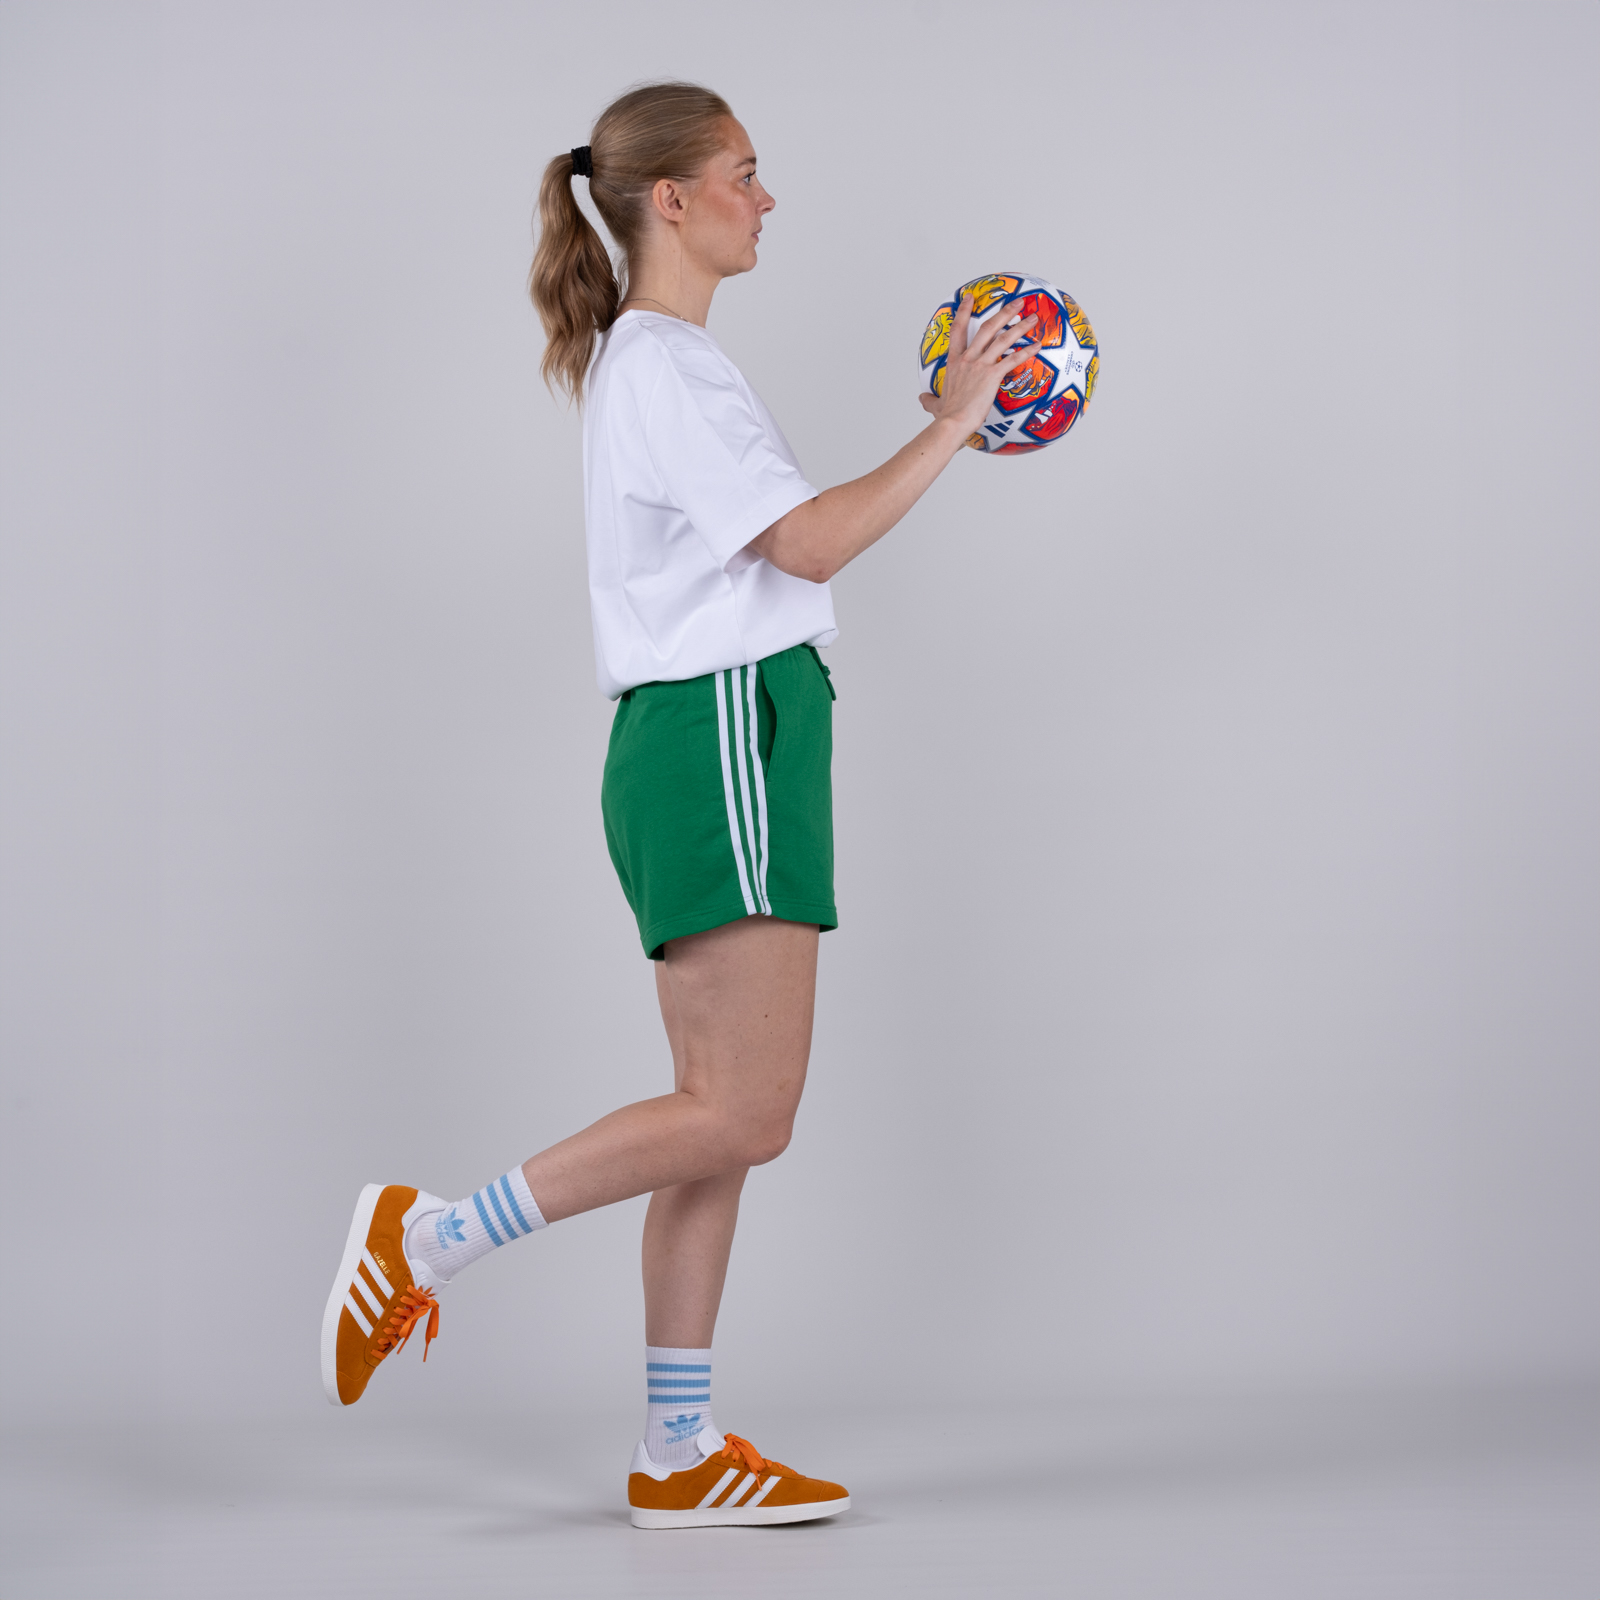
Stand on one leg. Bounce the ball off the wall.
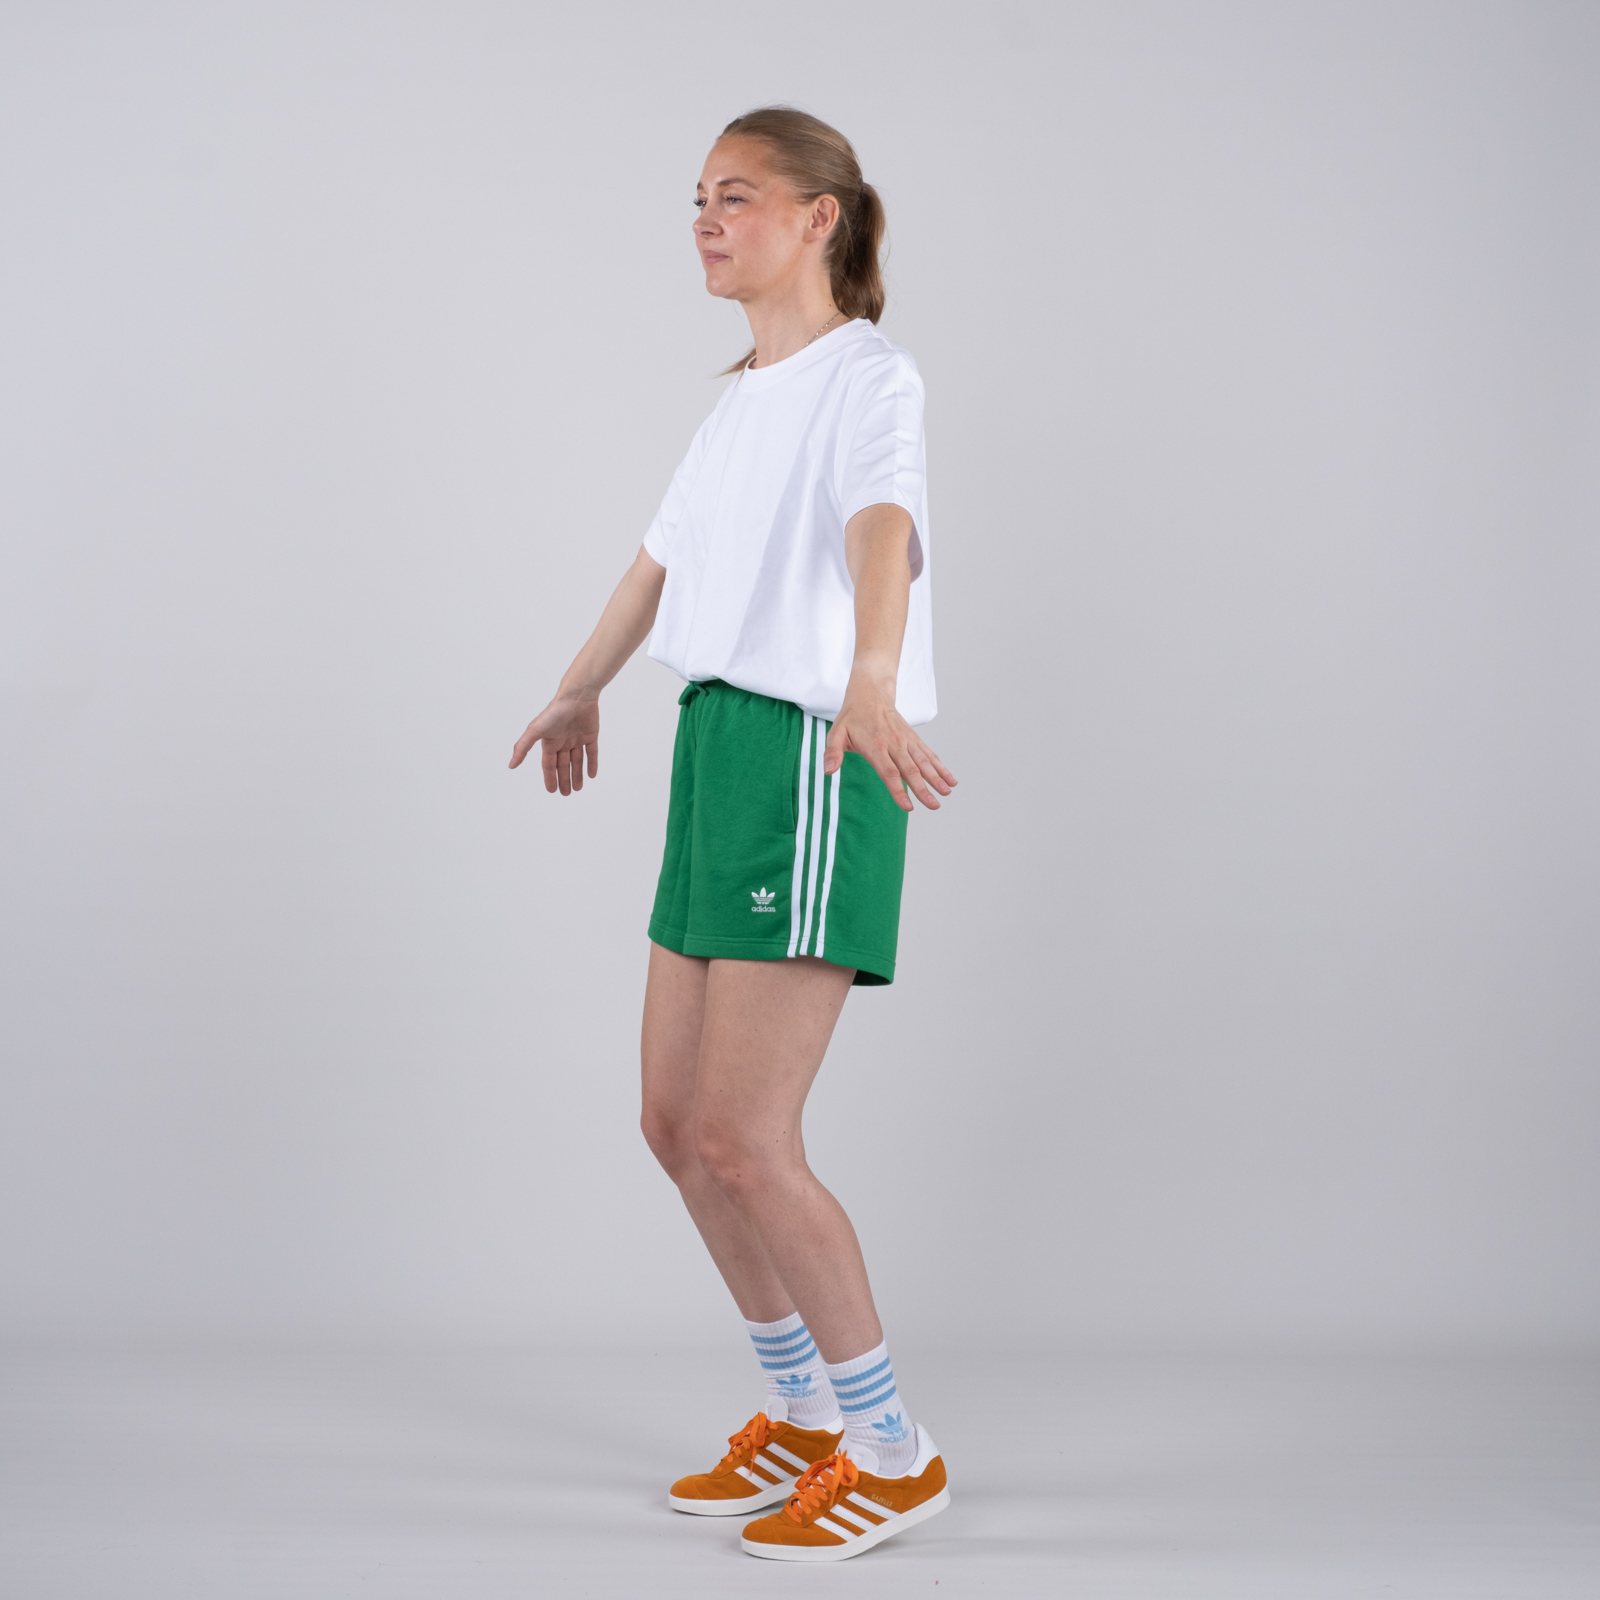
Stand on your toes with knees bent. Put your weight on the tips of your toes and keep your balance. Initially, support yourself with one hand against the wall.
Strength
40 minutes of each training session
Stand with both front feet on the floor. Slowly stand up on your toes with your weight on your healthy leg. Slowly lower yourself down onto the training leg. Use the healthy leg to get back up on your toes. Perform the exercise alternately with the knee stretched and bent. Gradually decrease the number of repetitions with more resistance by putting on a backpack and gradually increase the load in the backpack.
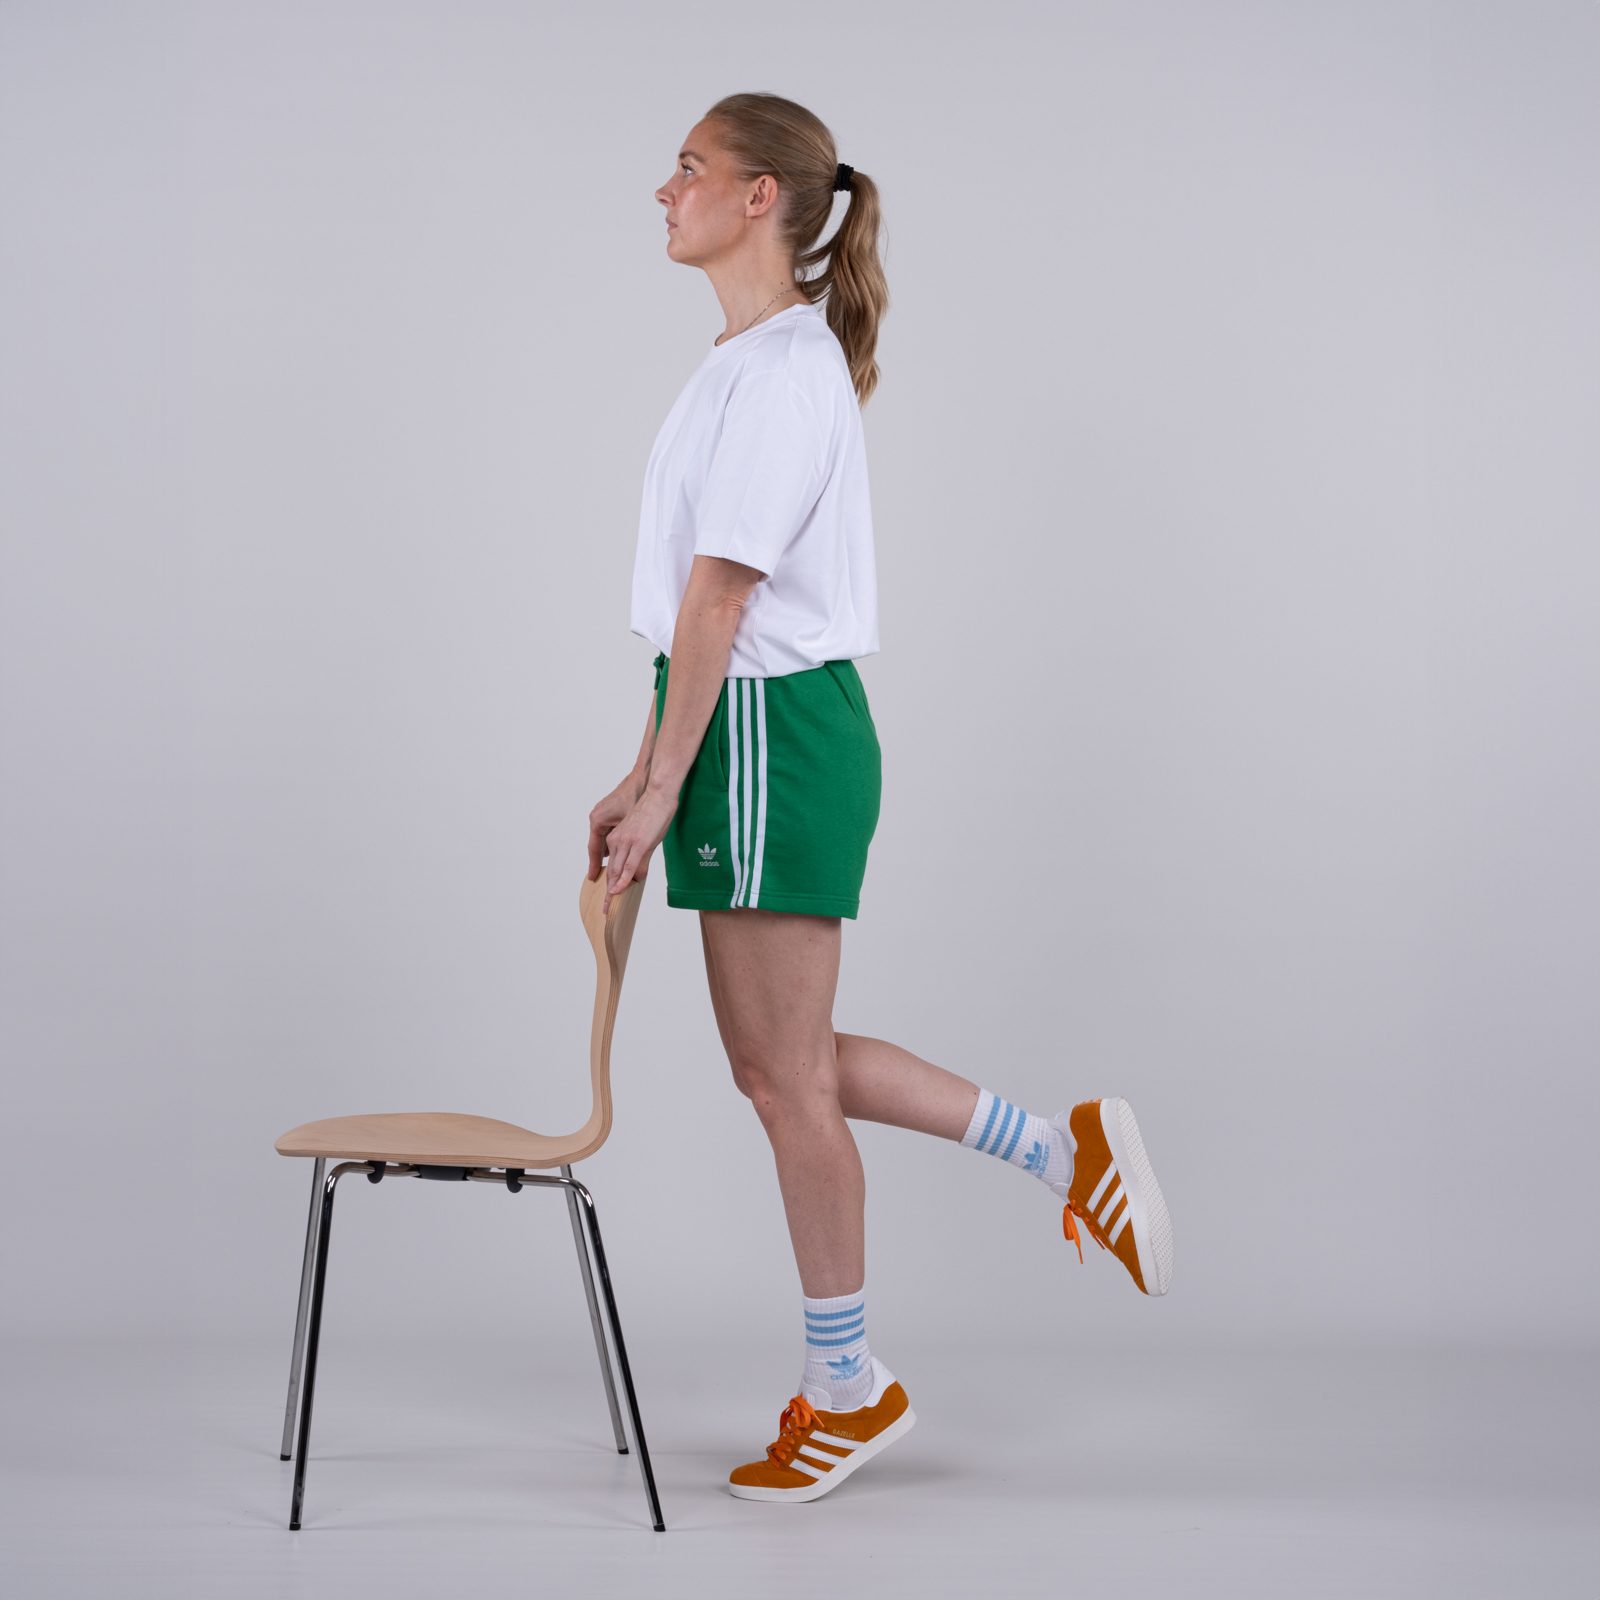
Stand behind a chair and, if necessary, support yourself by placing your hands on the backrest. Slowly rise onto the balls of your feet on the affected foot. Hold the position for a few seconds. Lower yourself back down. The load can be increased by putting on a rucksack and gradually adding weight to it. Gradually reduce the number of repetitions whilst increasing the resistance by putting on a rucksack and gradually adding weight to it.
Stand with knees slightly bent and forefoot on the floor. Go up on your toes, but maintain the bend in your knees. Hold the tension for a few seconds. Slowly return to the starting position. Gradually do fewer repetitions with more resistance by putting on a backpack and gradually increasing the ballast in the backpack.
Stand with the resistance band looped around both ankles. Stand on one leg, keeping your hip, knee and foot in a straight line. Keep your upper body upright. Bring the other leg diagonally backwards/to the side. Hold the position for a few seconds. Slowly bring the leg back without putting it down, whilst maintaining tension in the band.