Rehabilitation starts with the exercises in Step 1. When the exercises can be performed without pain, rehabilitation starts on the next step.
How often and for how long should I train? Training frequency and duration are individual. Start with about 3 repetitions per workout. exercise and at least 3 times a week. Slowly increase the number of repetitions and load without exceeding the pain threshold
Do I have to do the whole program every time? No, you can divide the exercises into different days. The most important thing is to exercise regularly and gradually increase the intensity
The time in minutes indicates the time distribution between stretching, balance and strength if you train for one hour. Whether you train for one hour or 10 minutes, for example, is adapted to your starting point – and can be increased over time.
Condition
Unlimited: Cycling. Swimming Run.
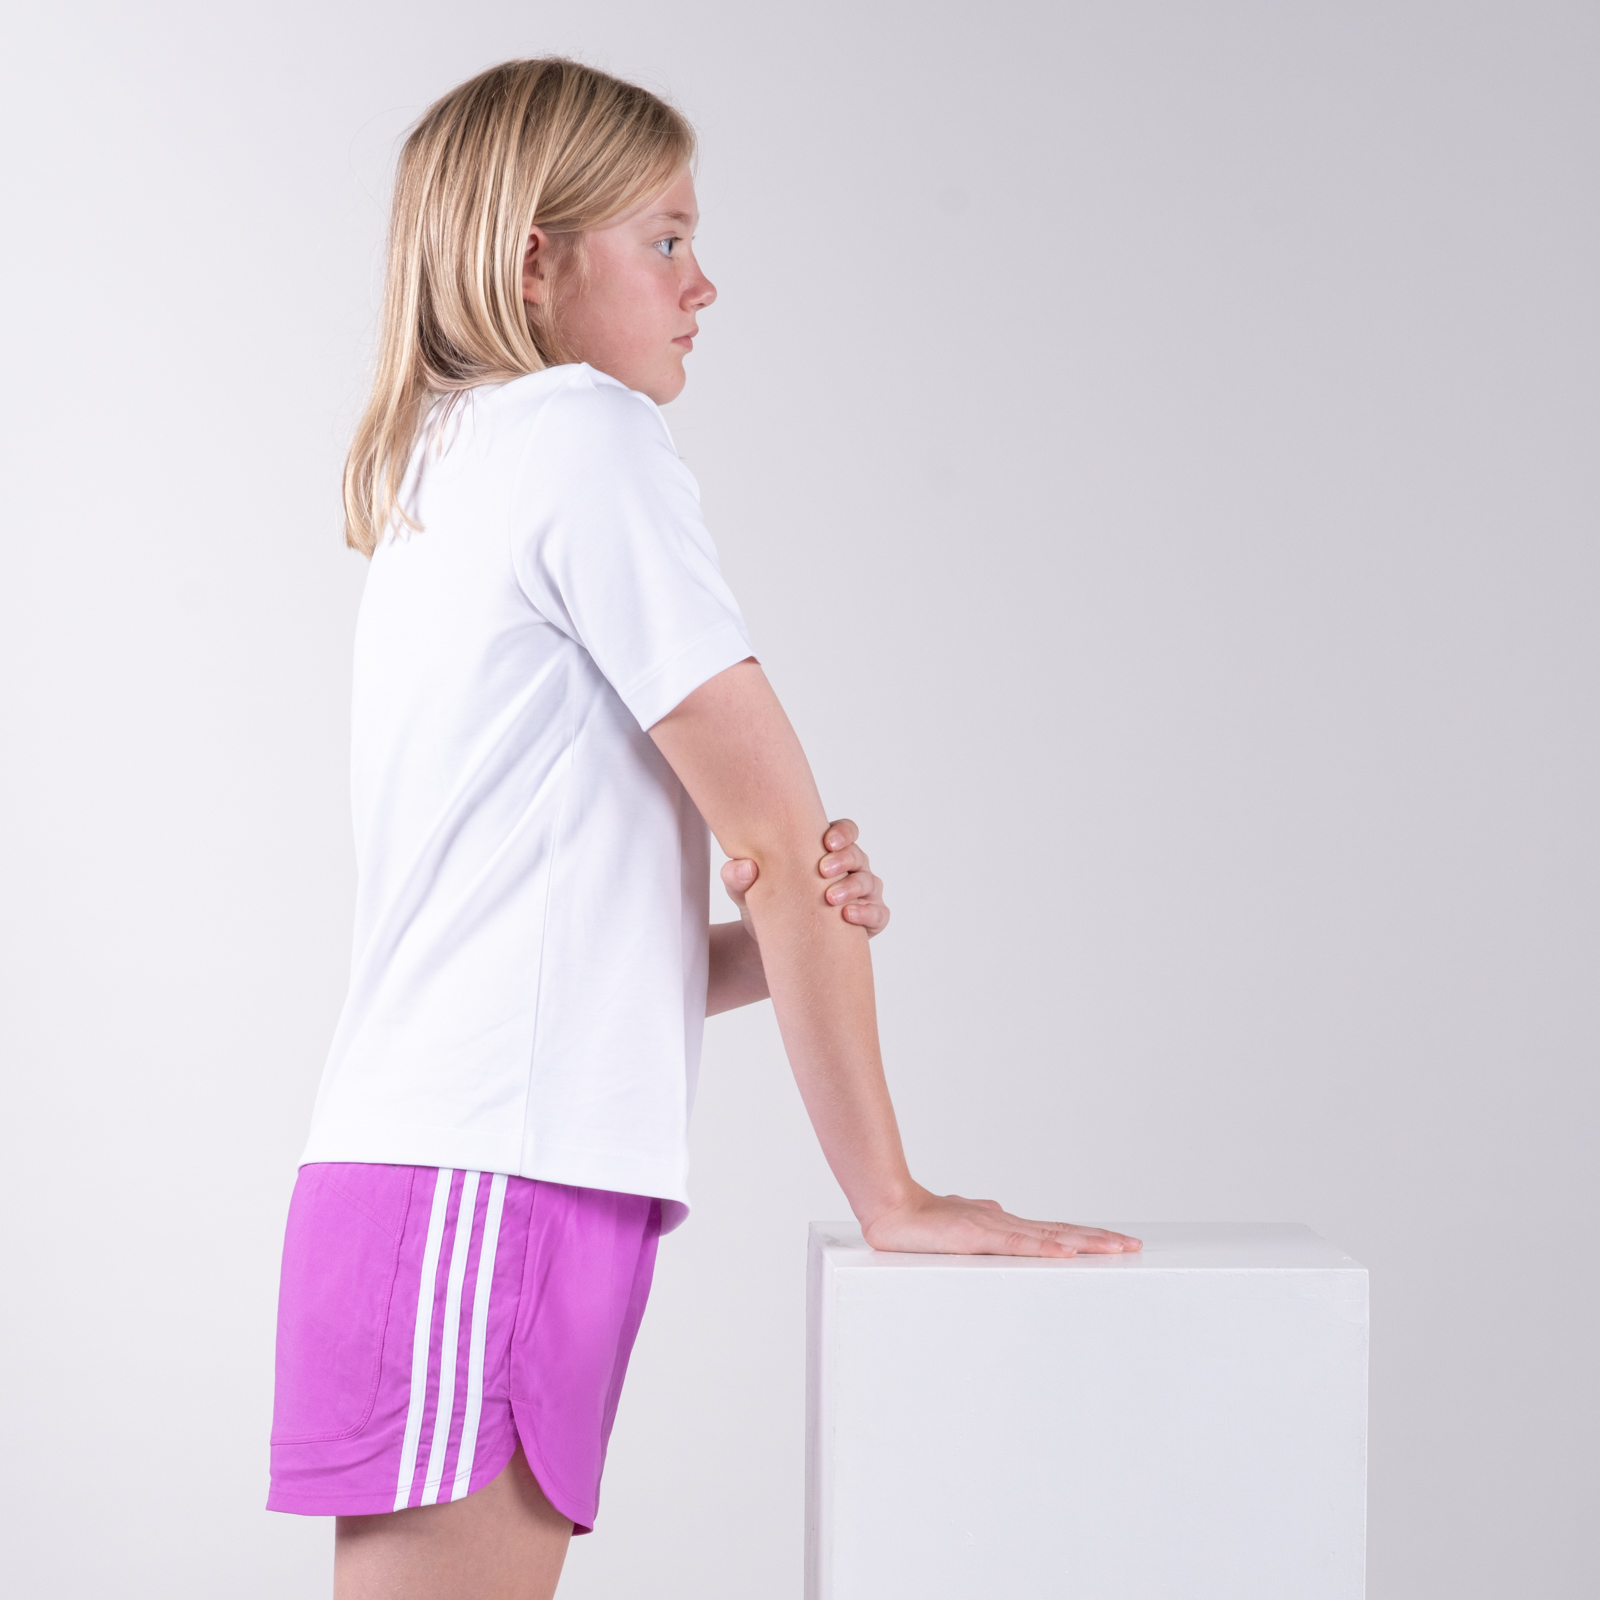
Stretching
Stand at a table with the hand of the arm you’re exercising resting on the table. With your other hand, grasp the elbow of the arm you’re exercising. Extend that arm as far as possible and apply additional pressure with your other hand to increase the stretch. Hold the position for 10 seconds, then release the pressure and bend your elbow slightly before repeating the exercise.
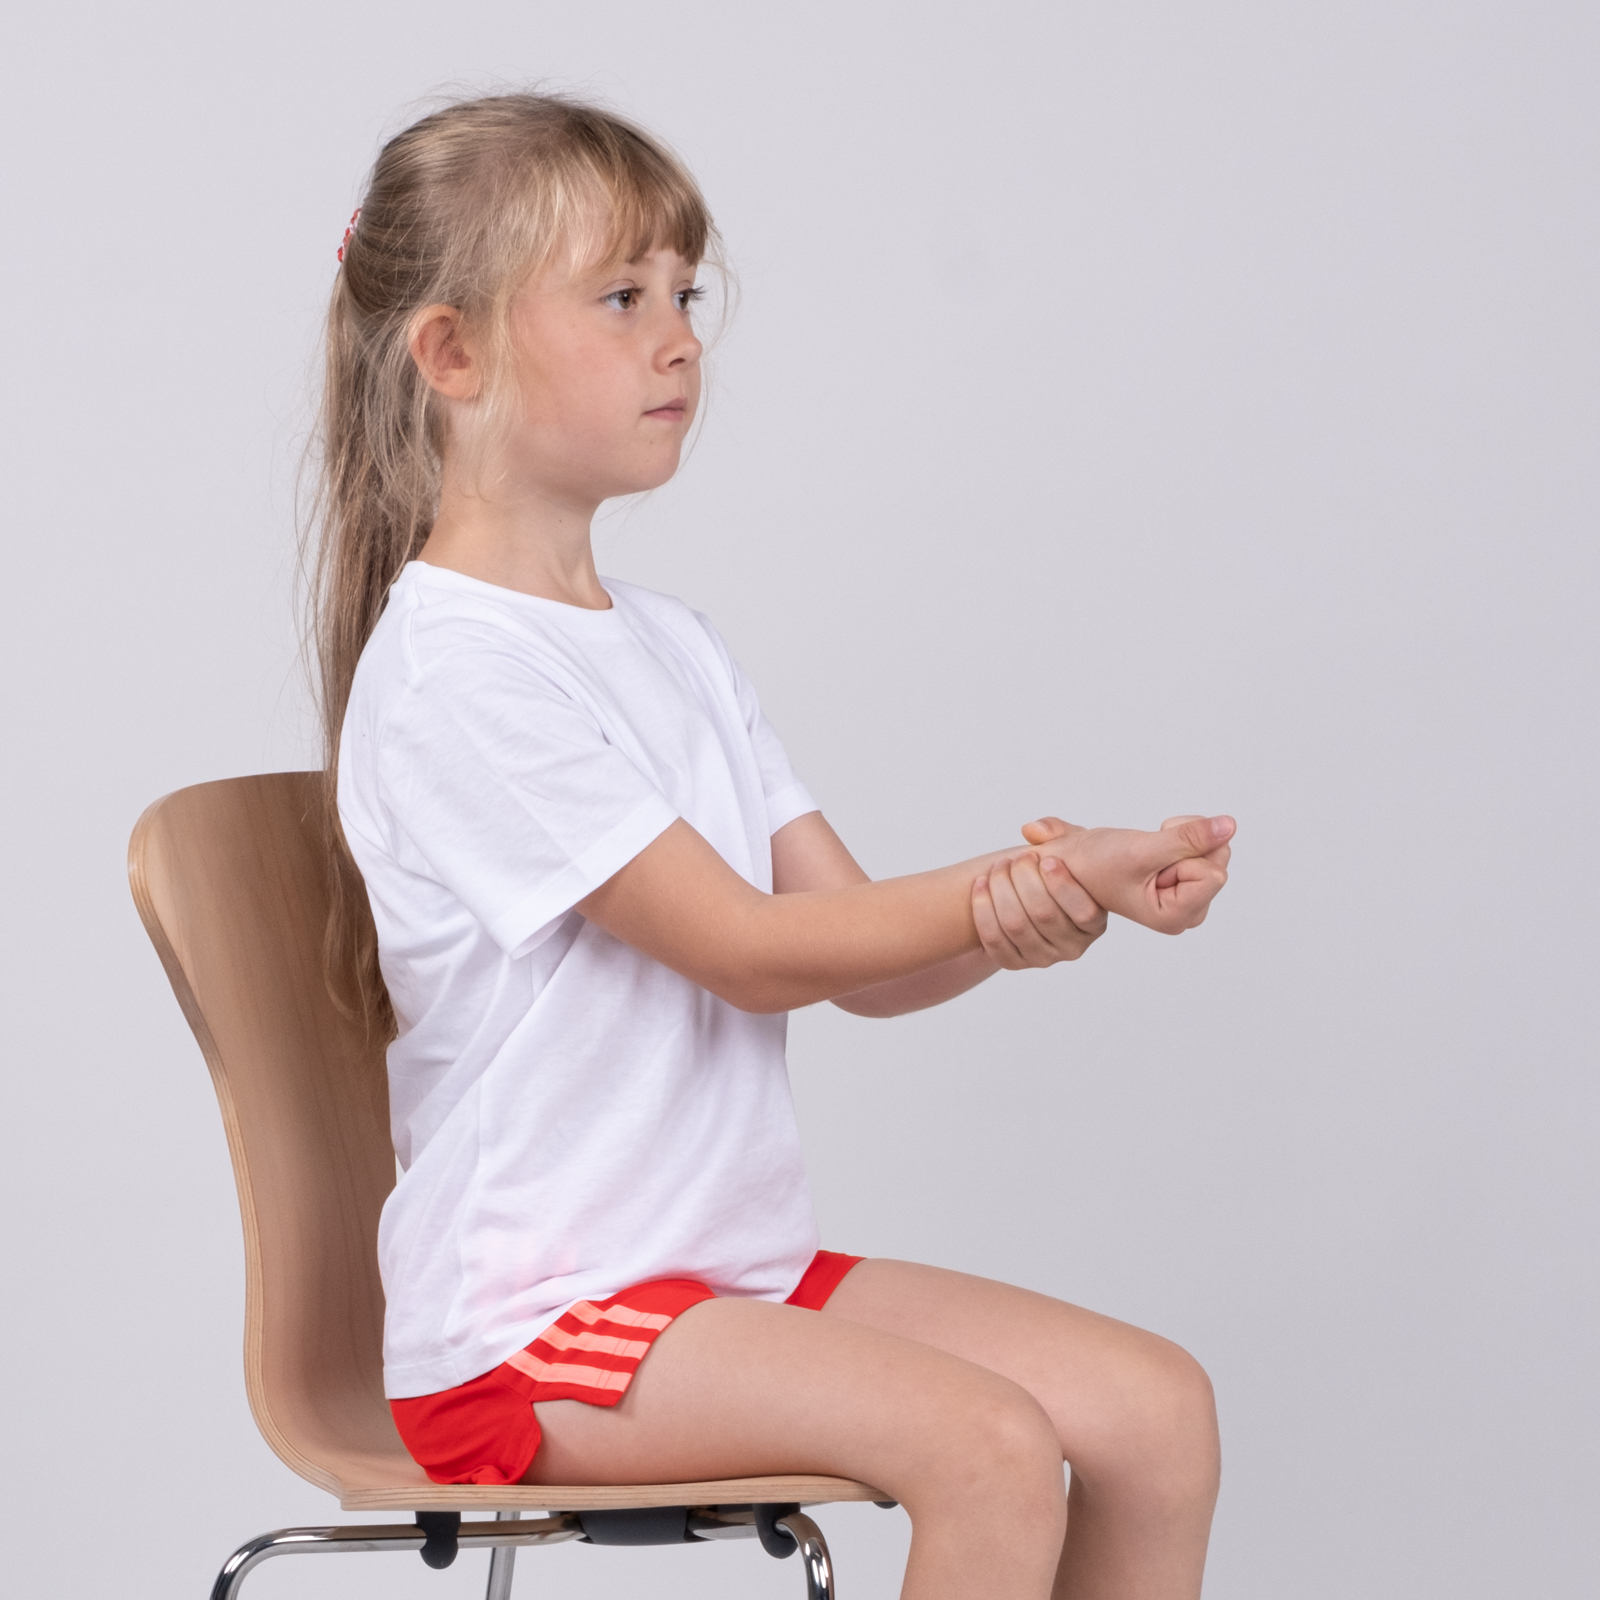
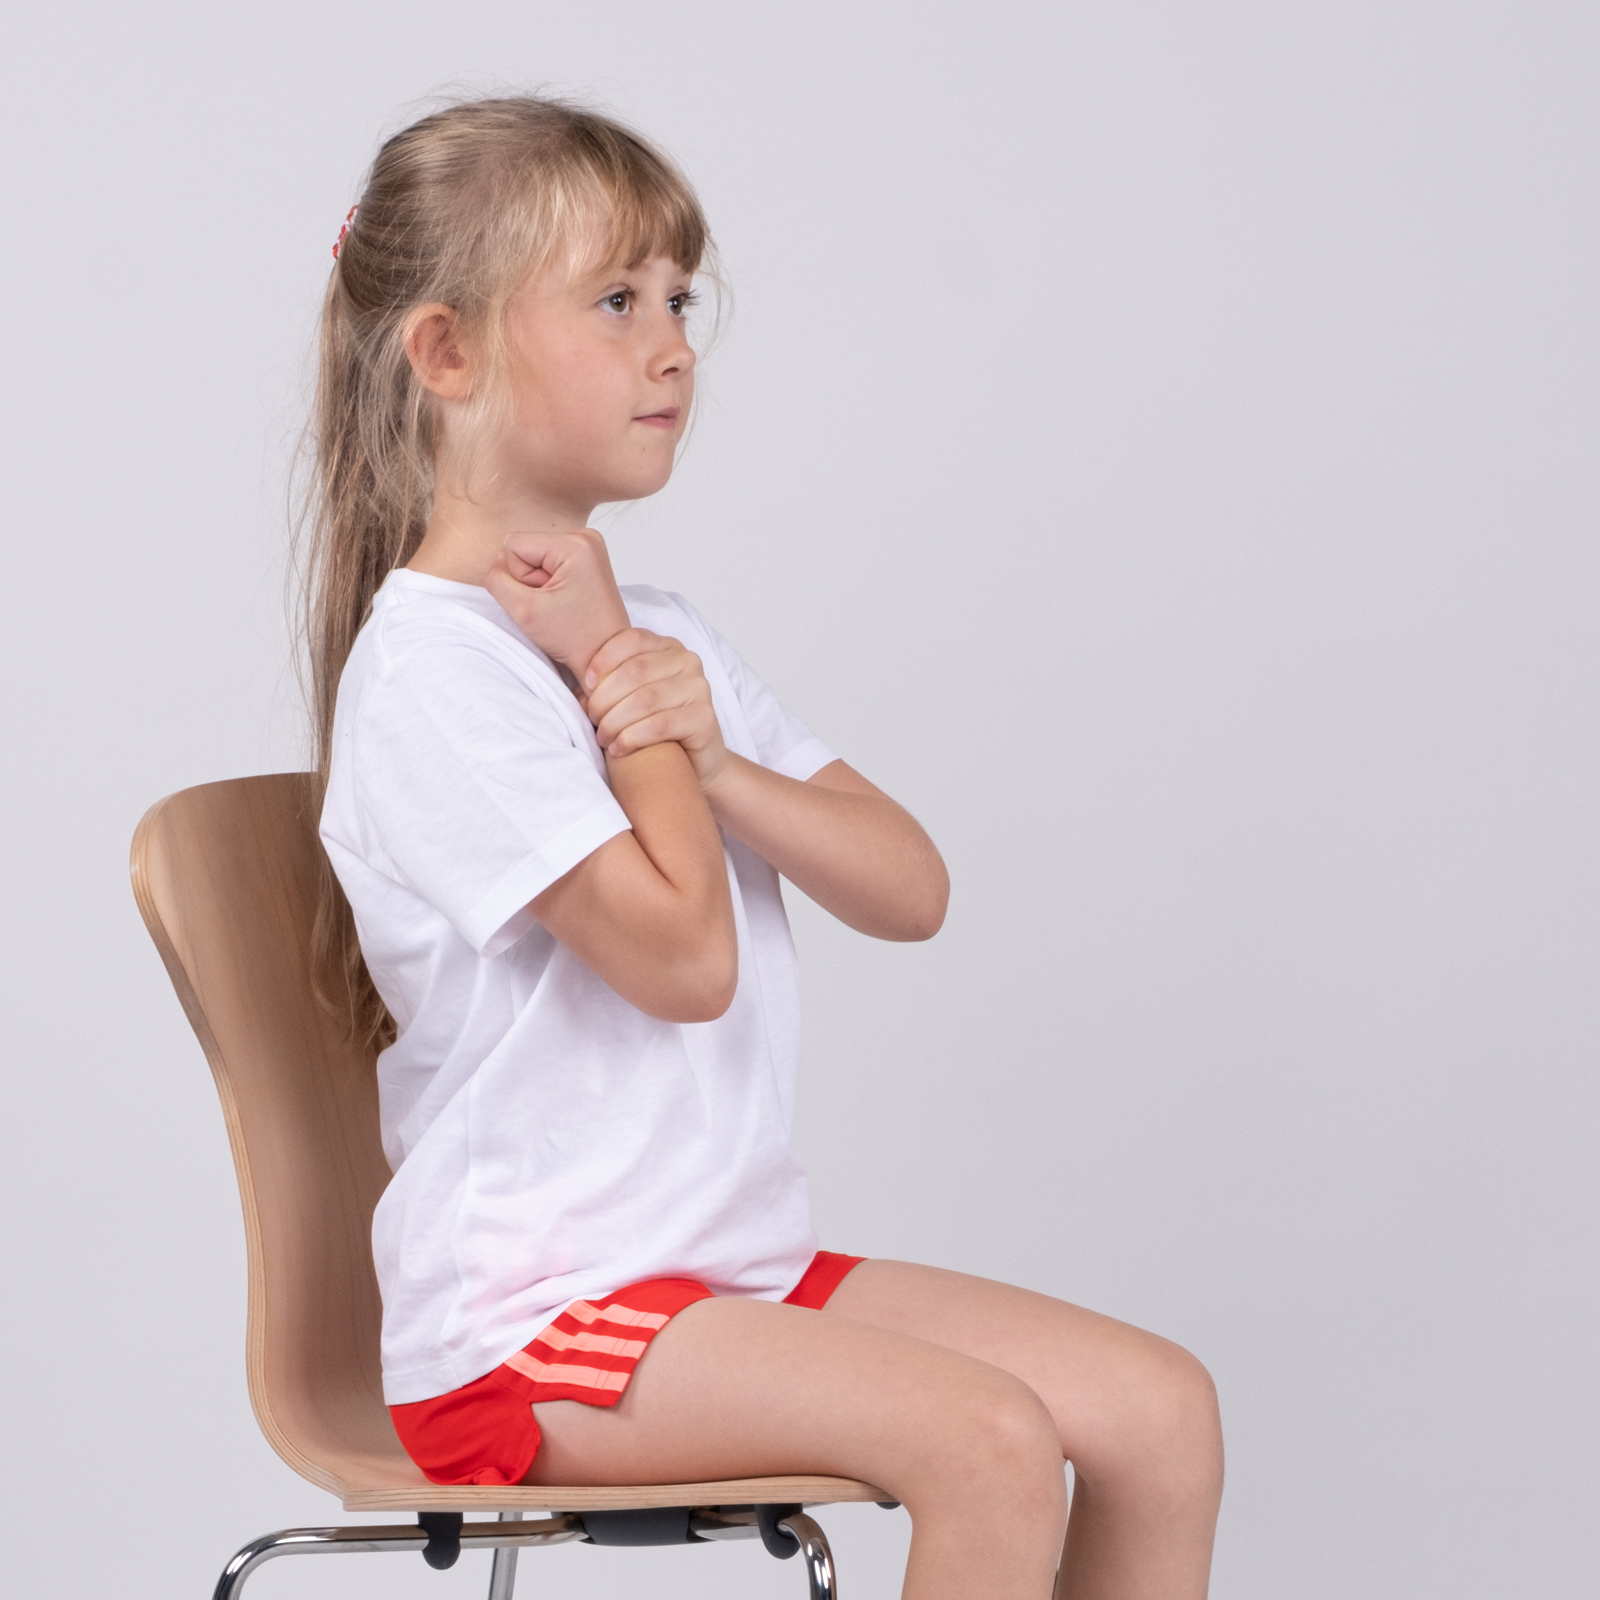
Sit on a chair. Bend the elbow of your working arm and wrap your other hand around your wrist. Bend your working arm as much as possible and apply additional pressure with your opposite hand.
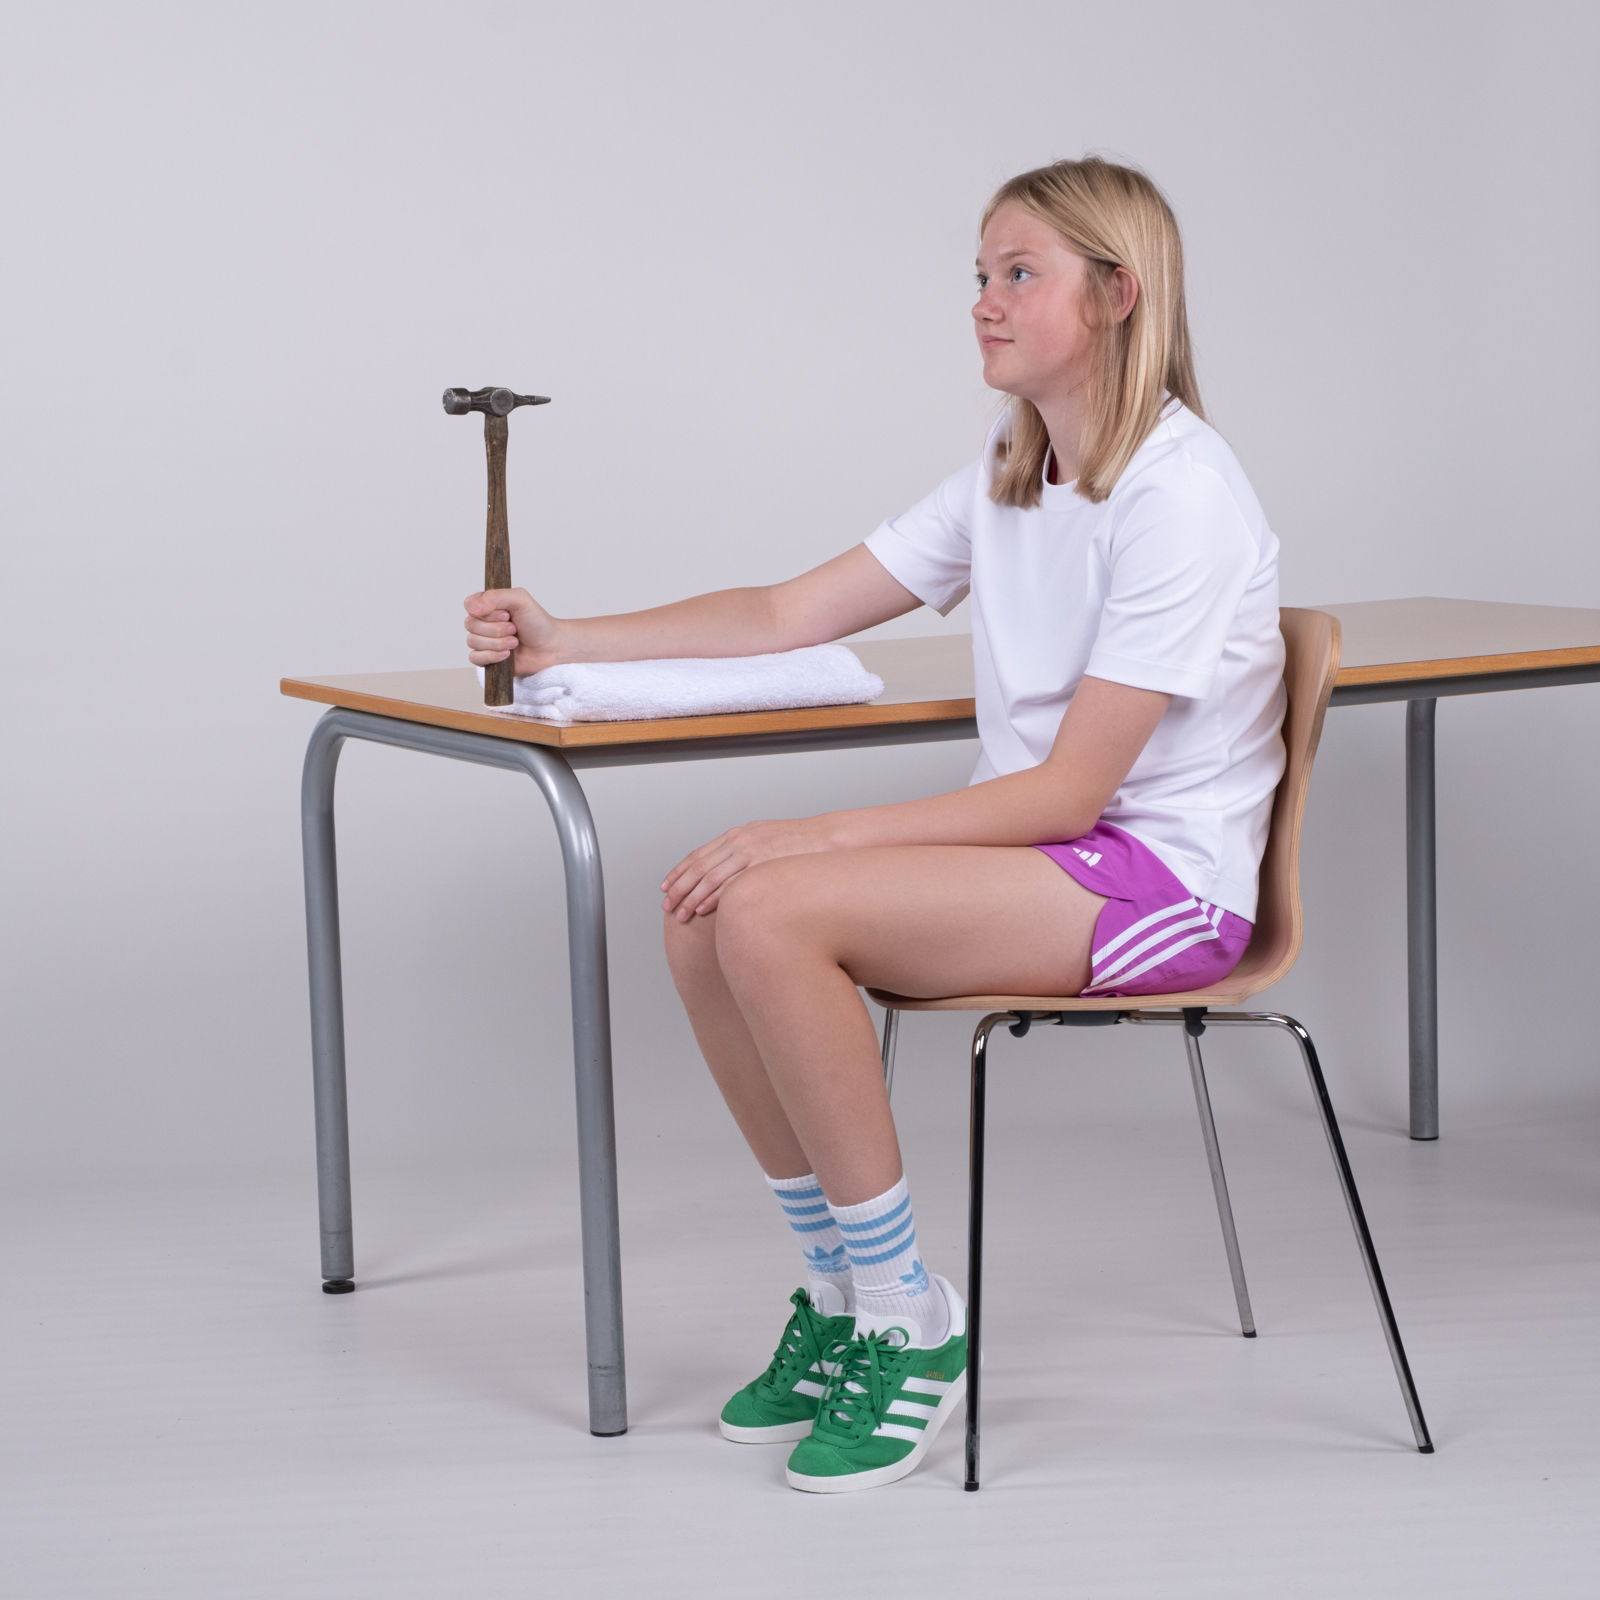
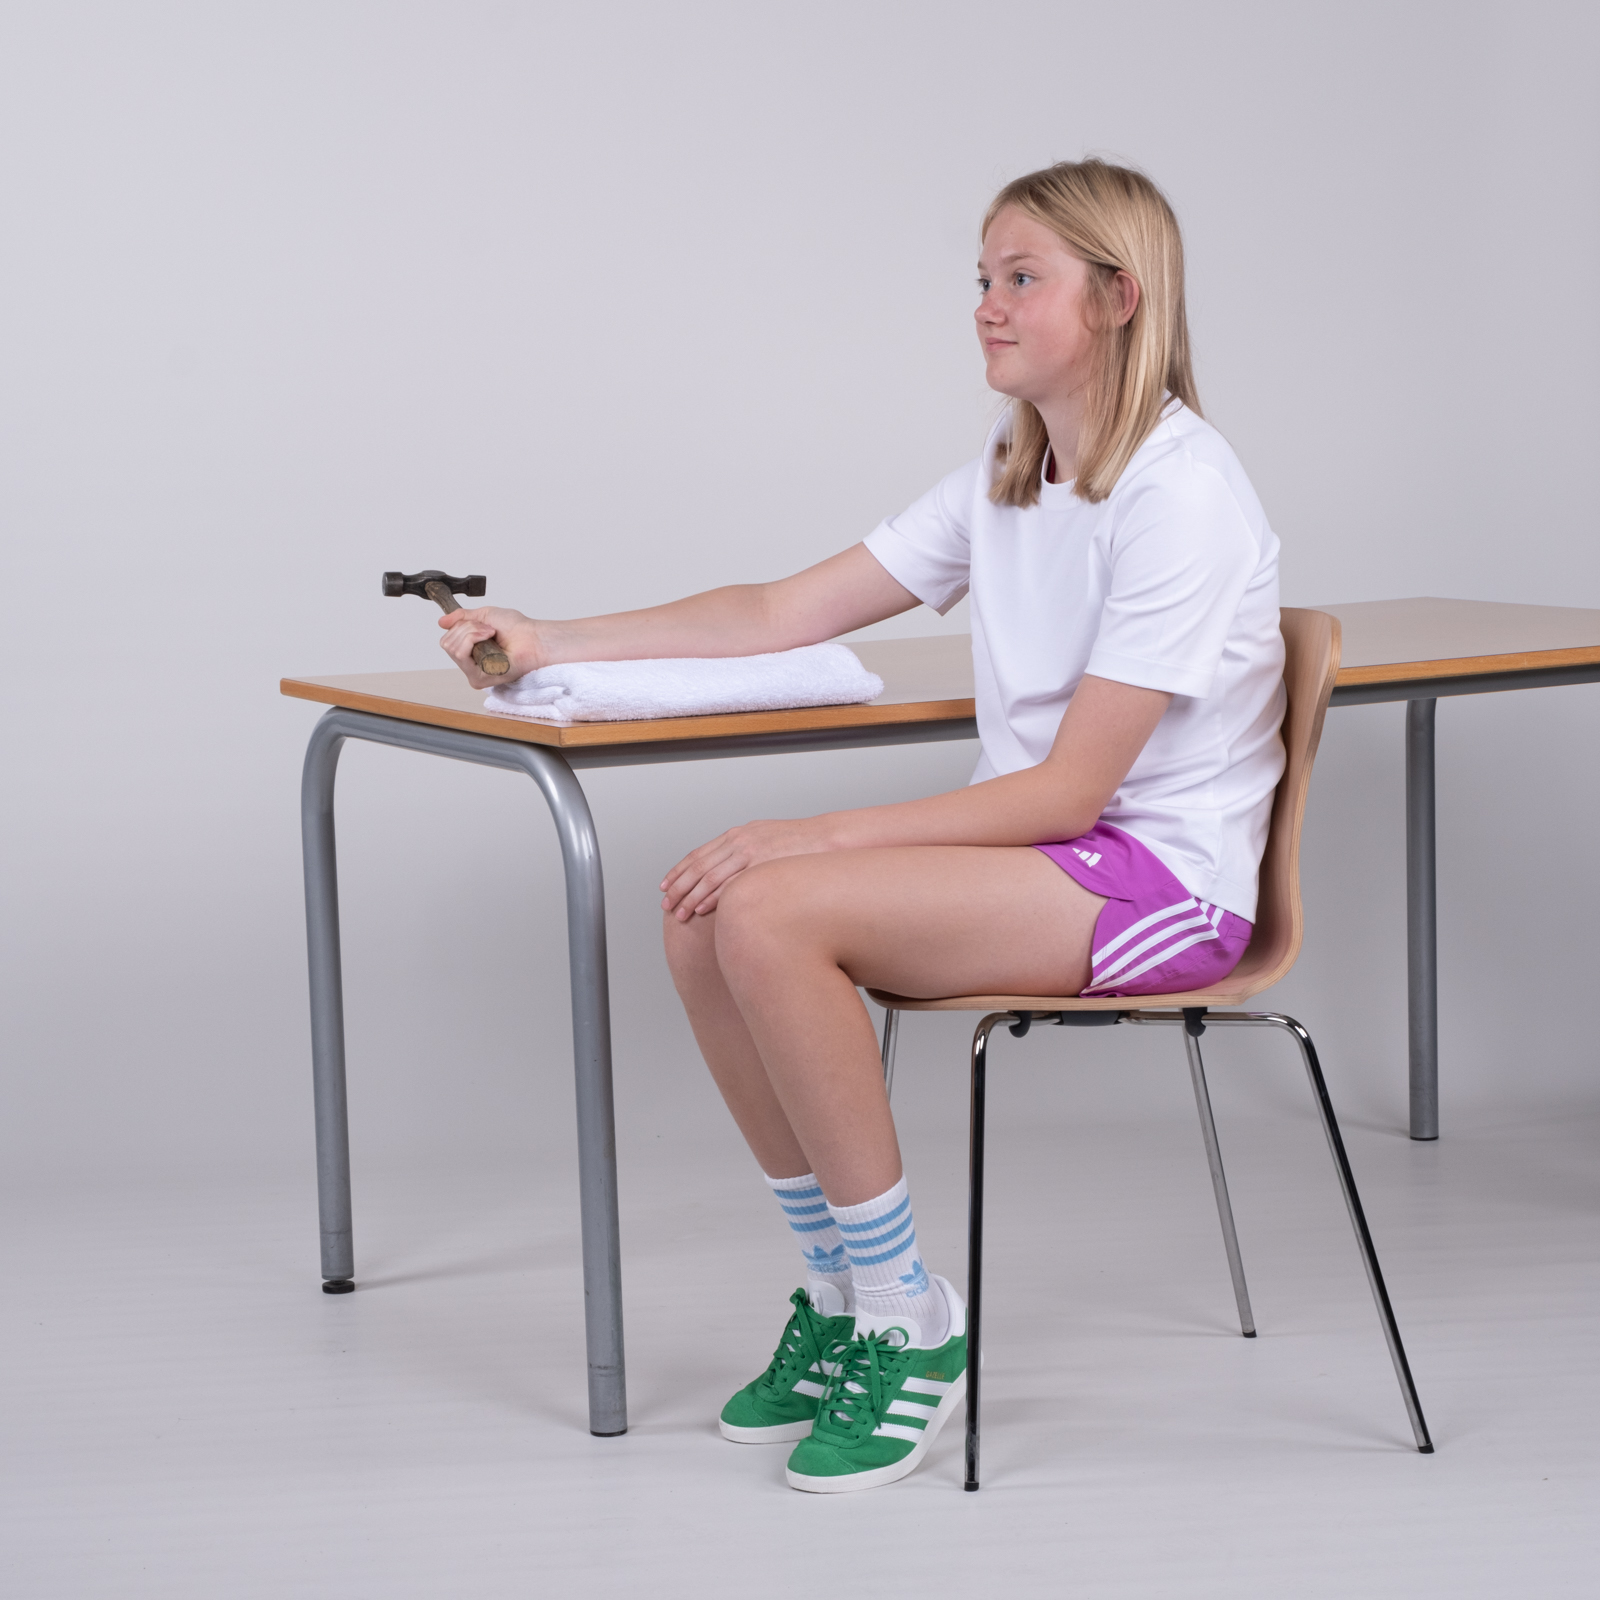
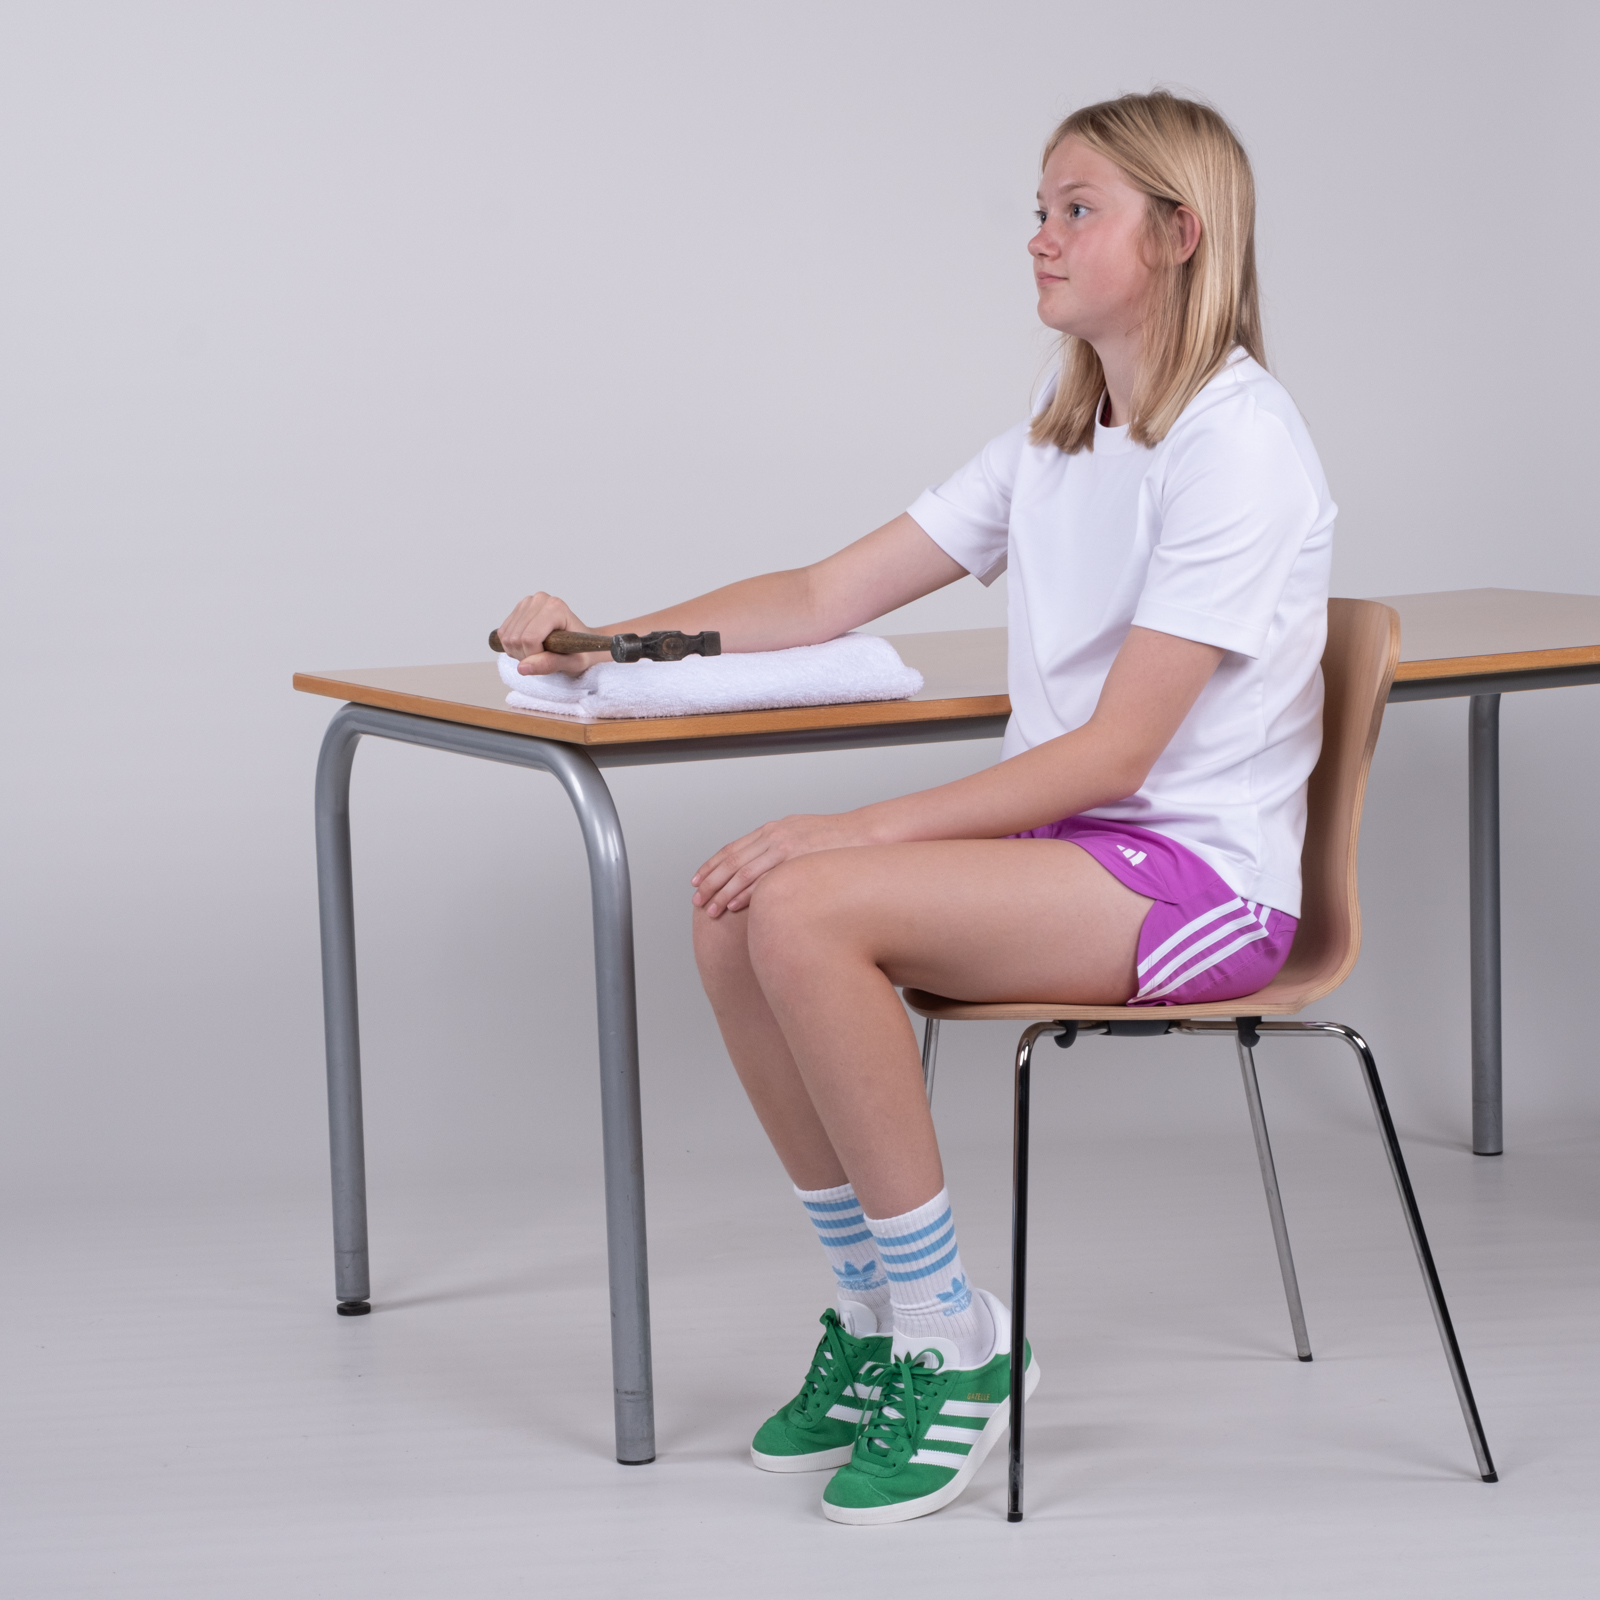
Sit at a table with, for example, a hammer in your hand. Rest your arm on the table and hold your hand over the edge. Slowly rotate your forearm from side to side.
Strength
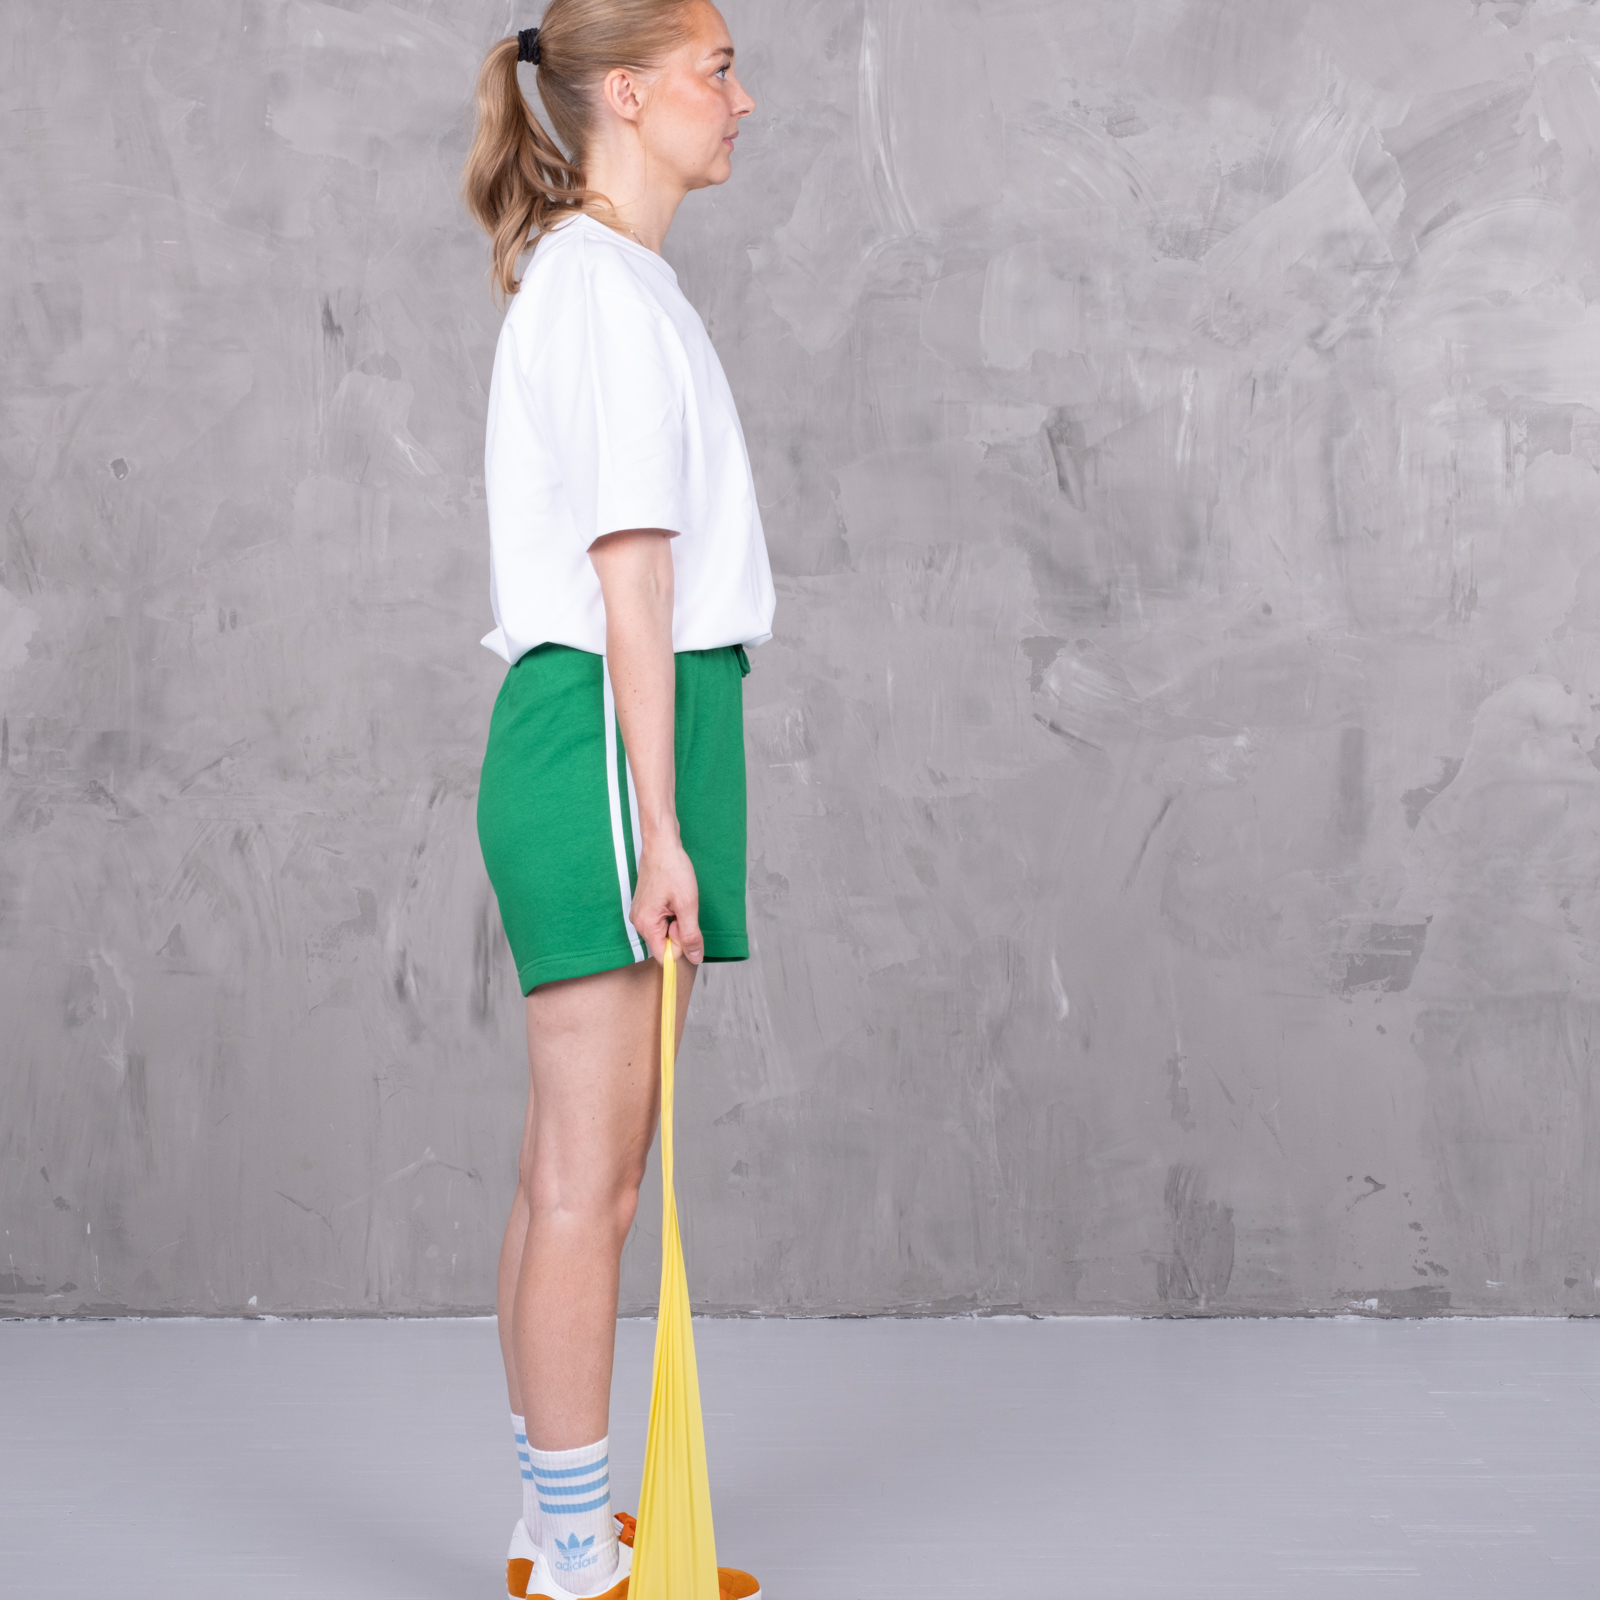
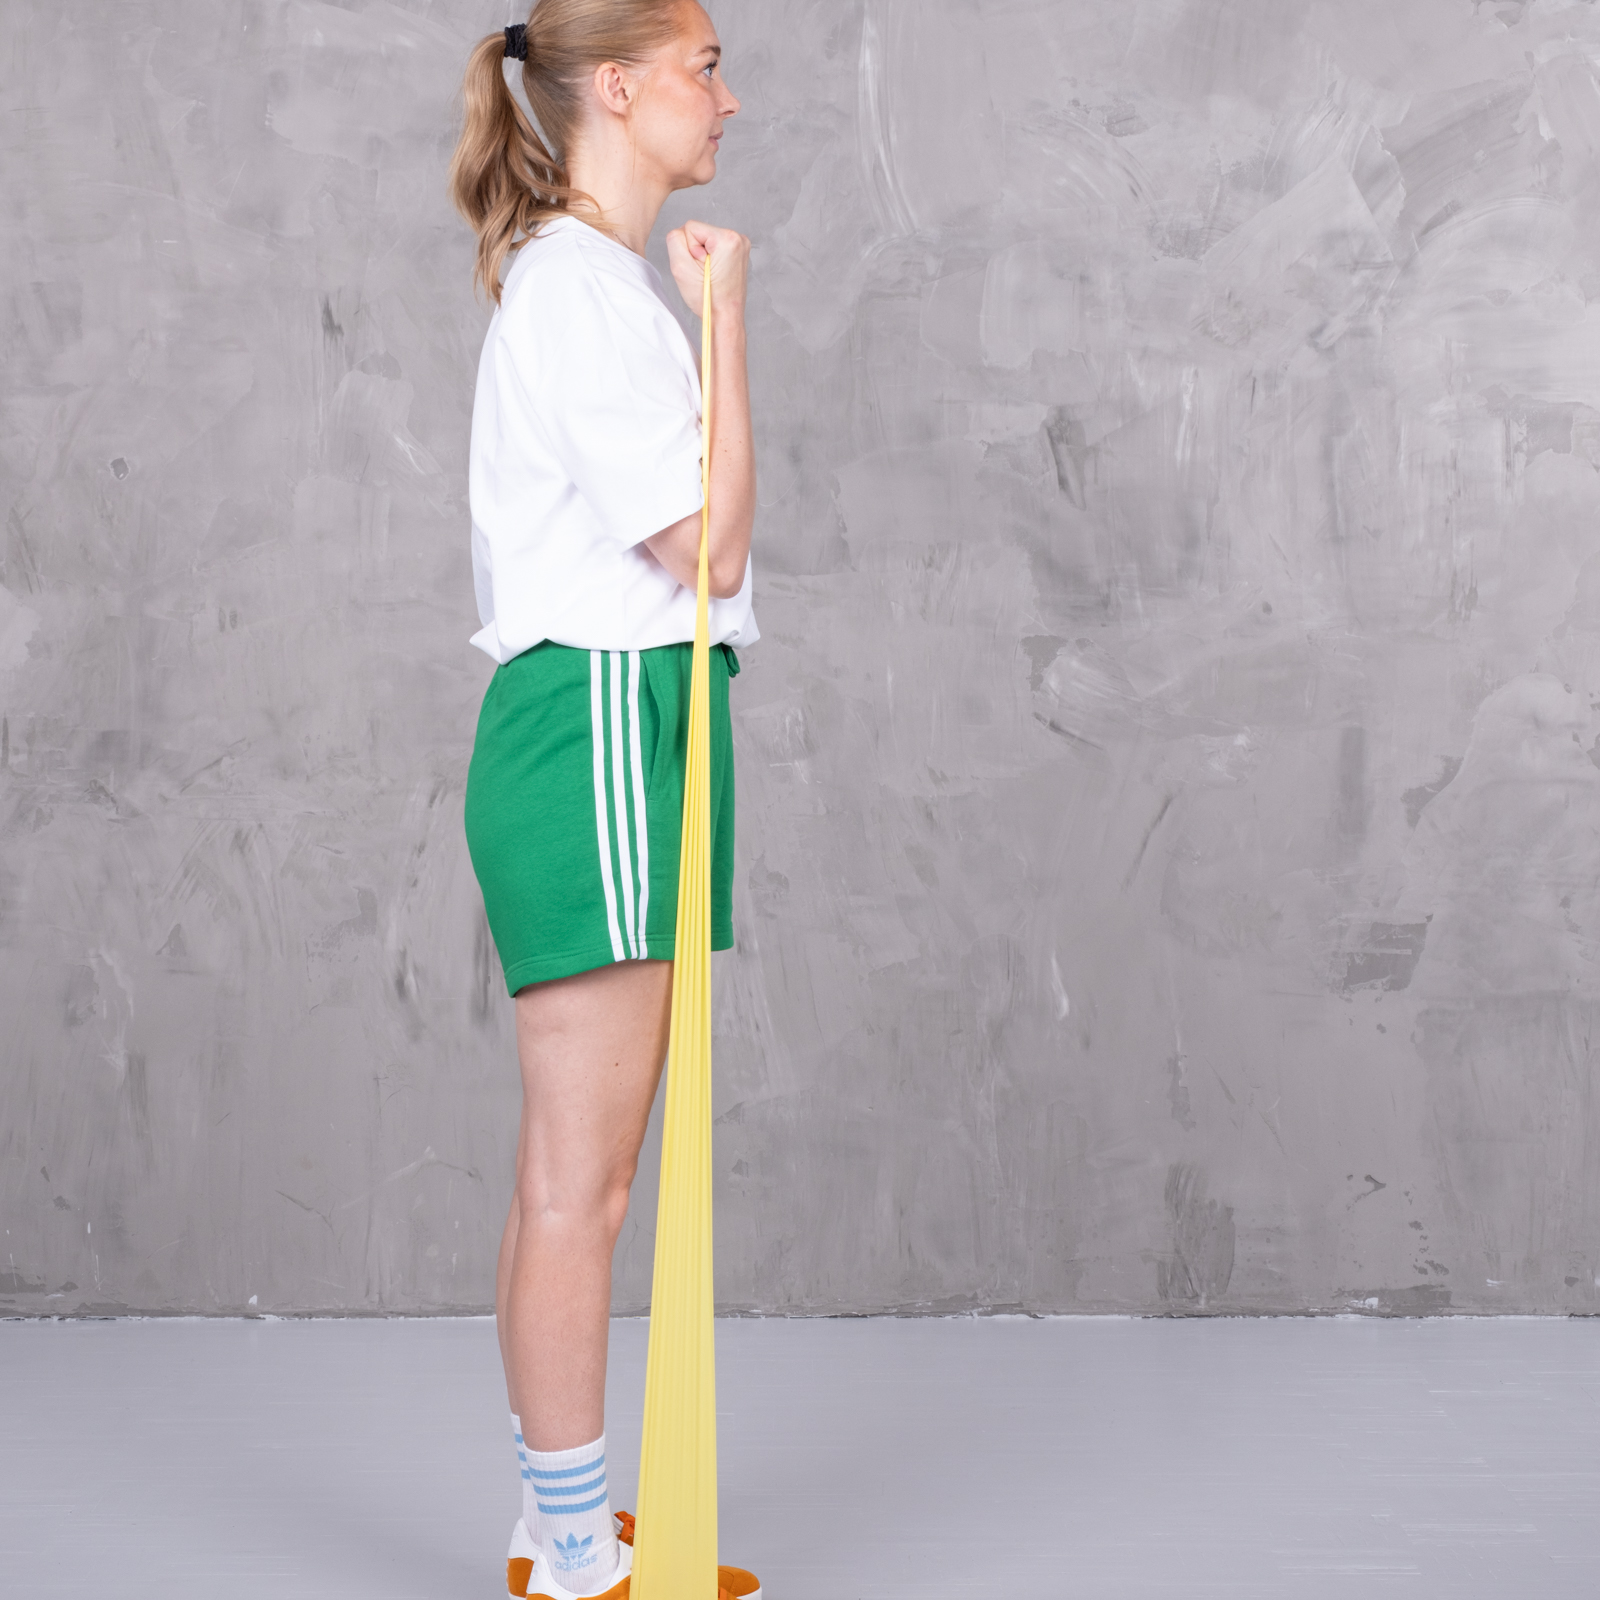
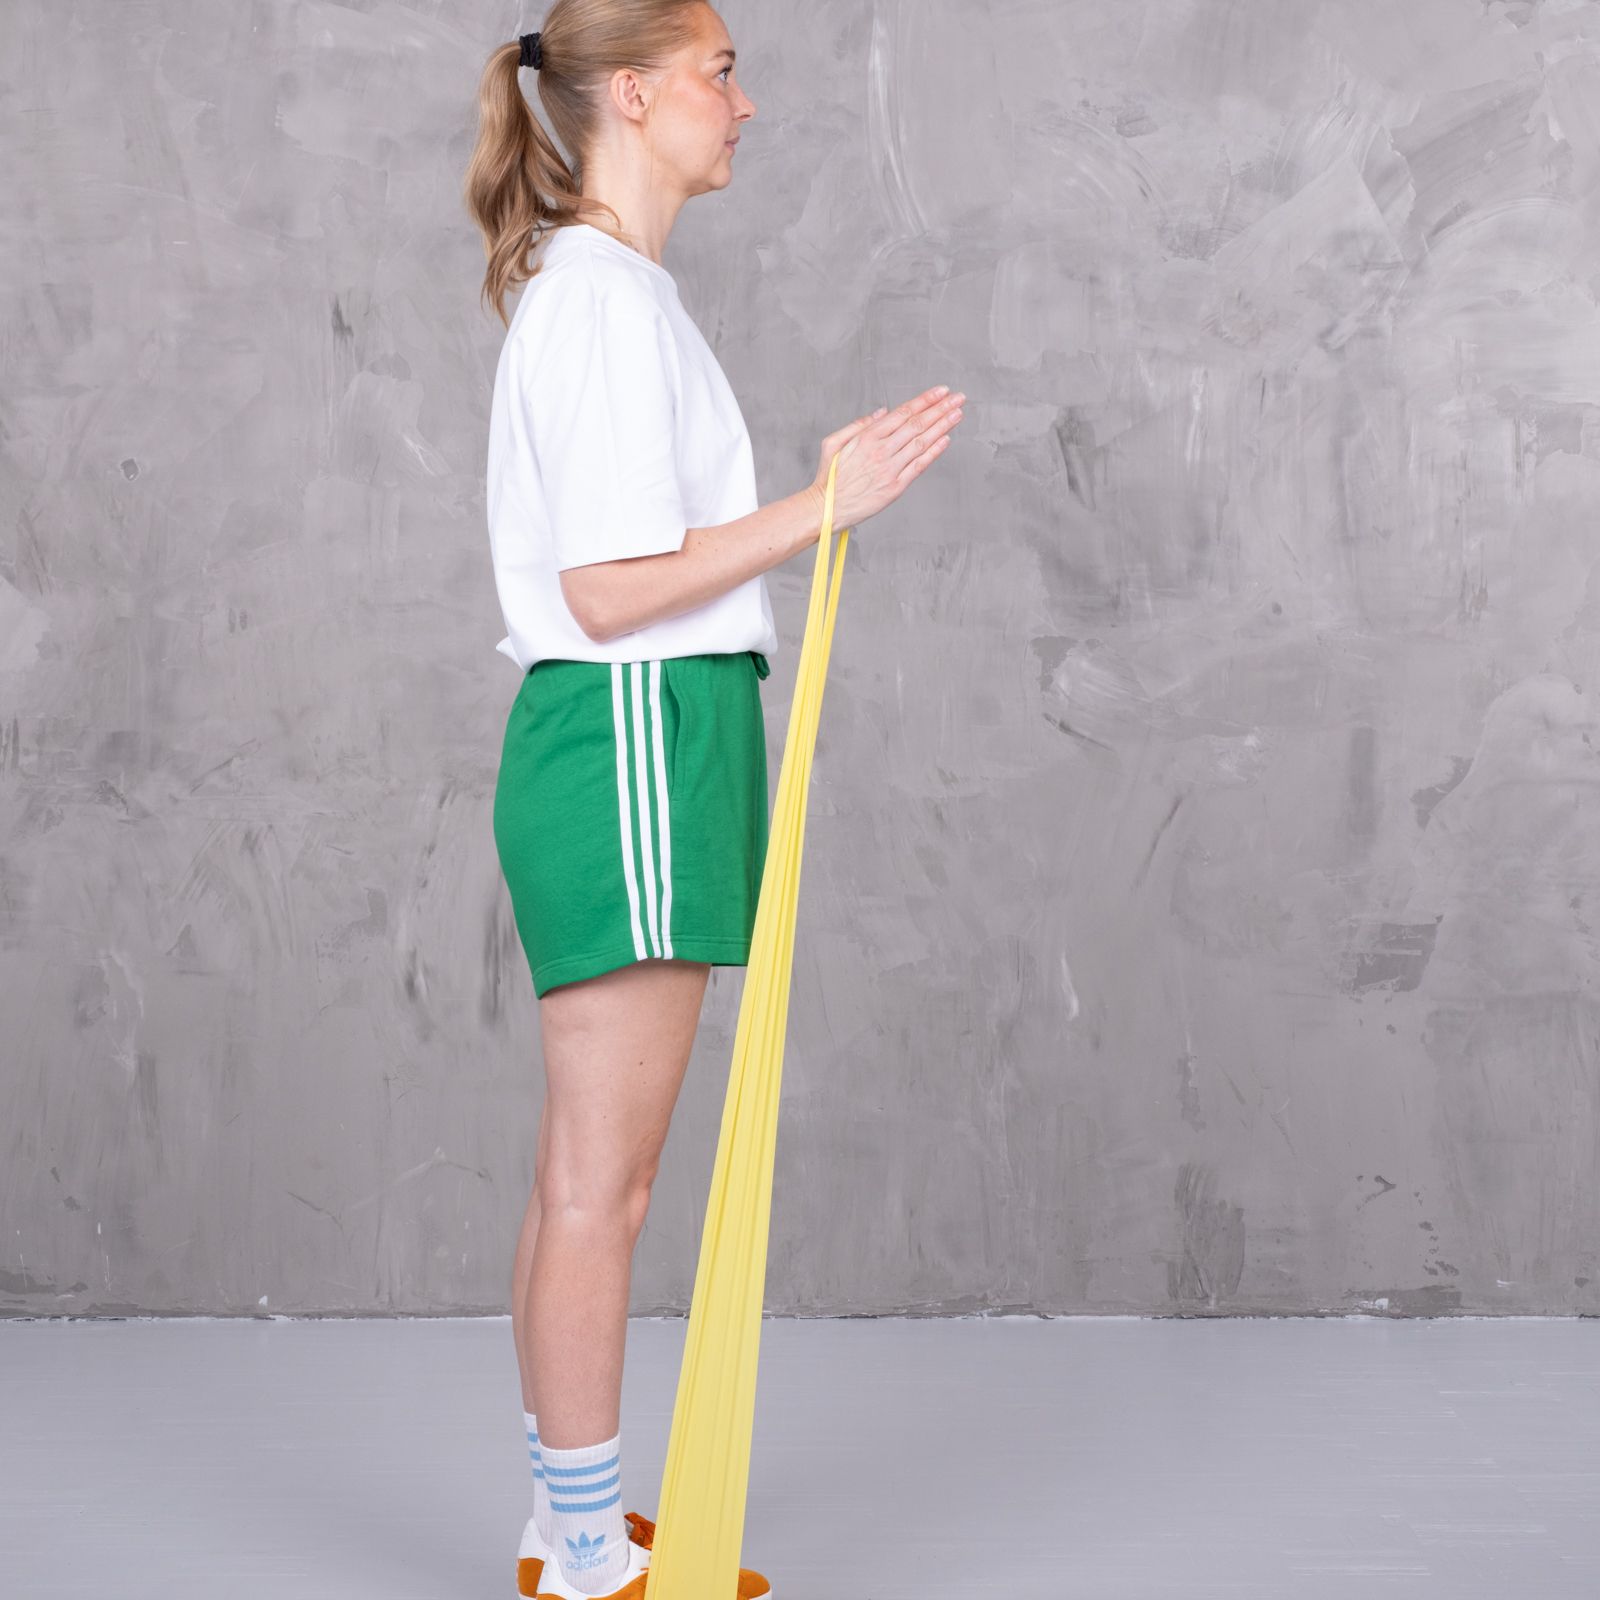
“Bicep curl.” Stand upright with a resistance band looped around your foot. Hold the other end of the band in your hand, palm facing up. Slowly bend your arm so that your hand moves toward your shoulder and the band tightens. Hold the tension for a few seconds and slowly straighten your arm back to the starting position. Your palm should face upward throughout the entire exercise.
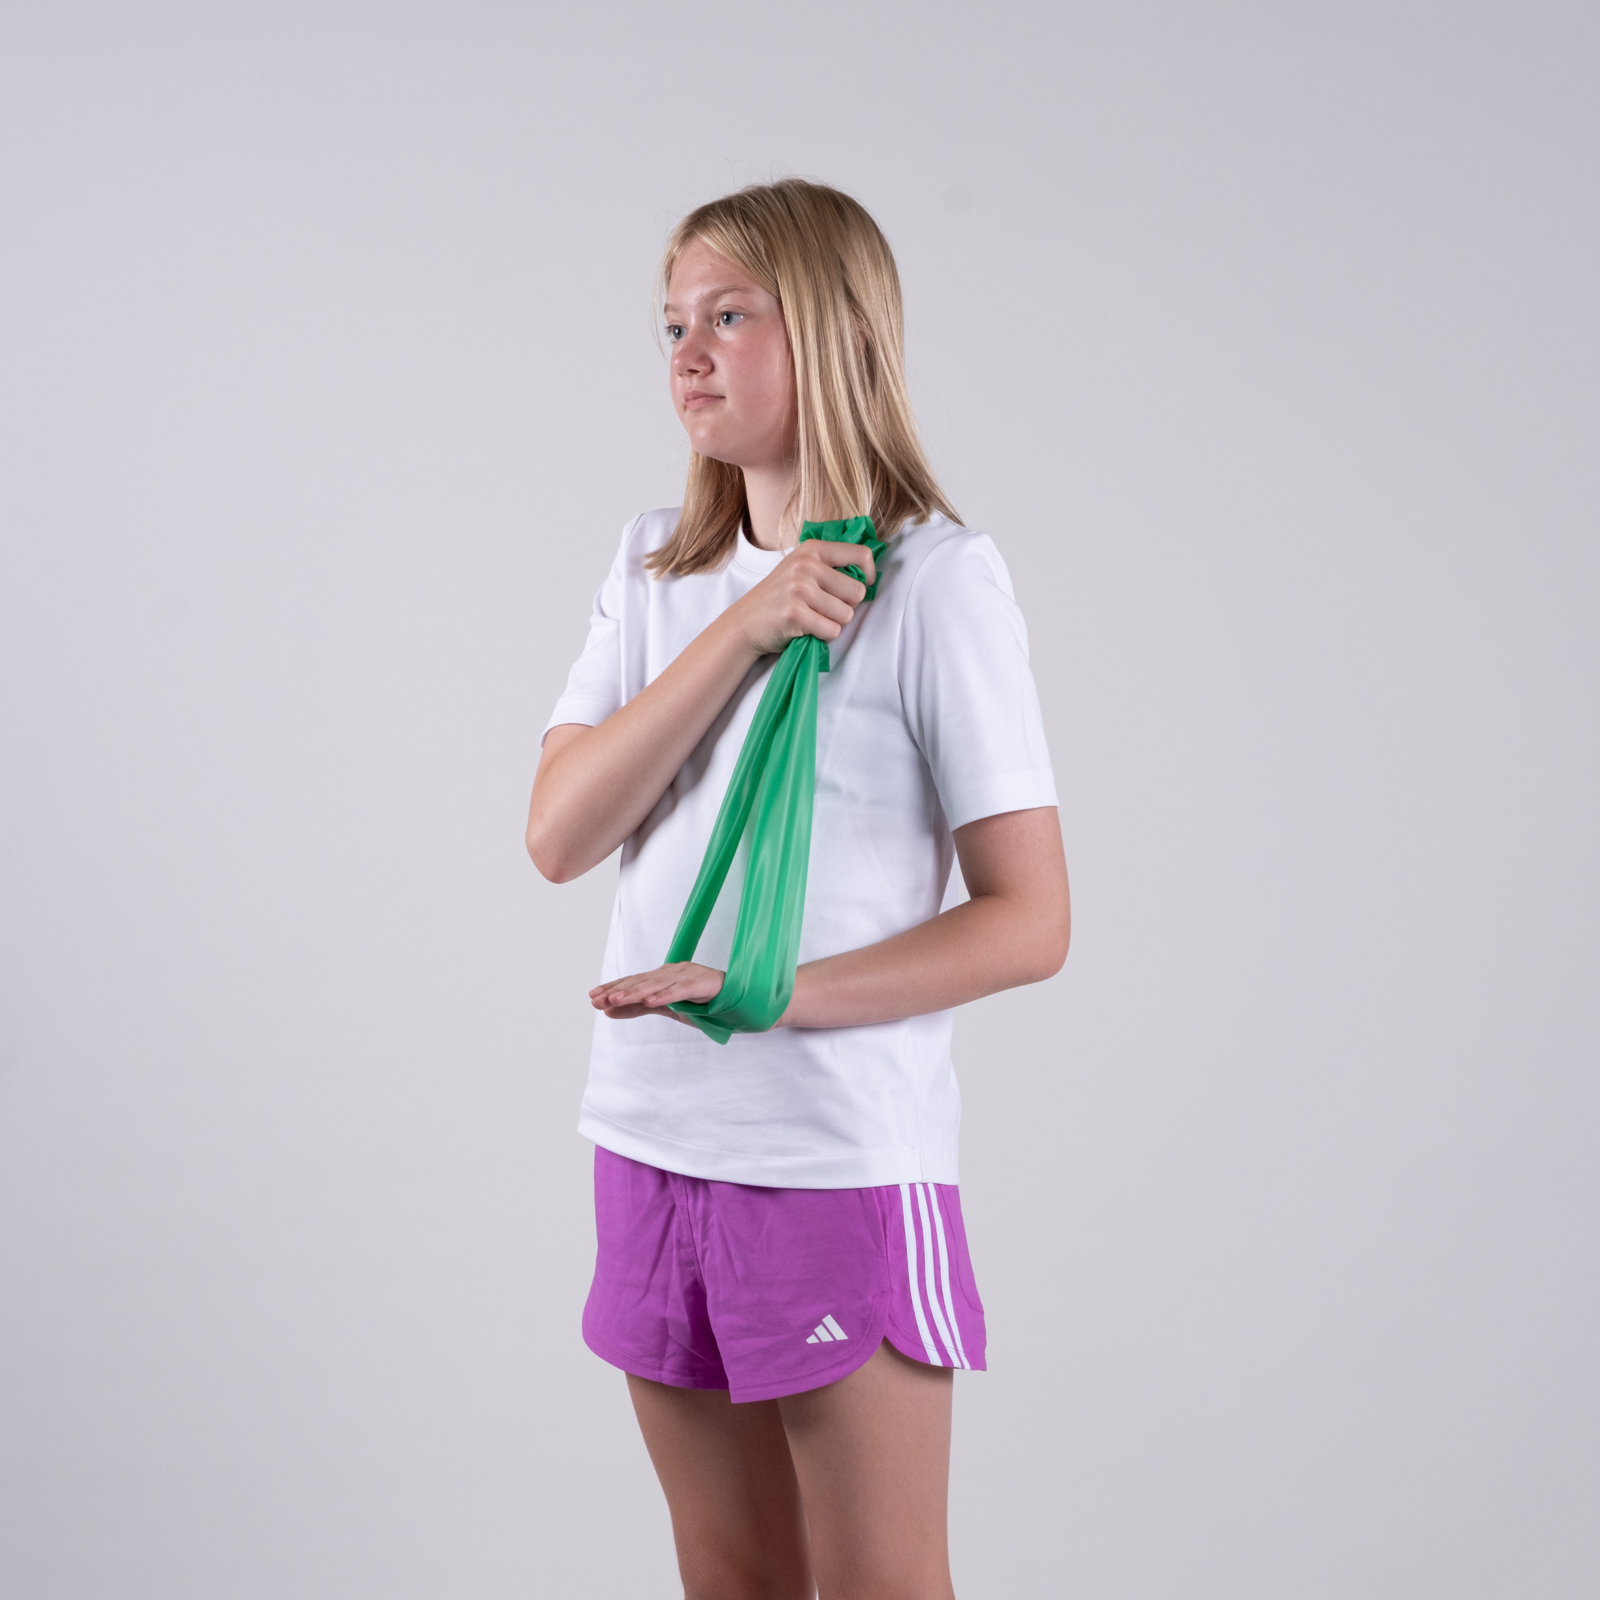
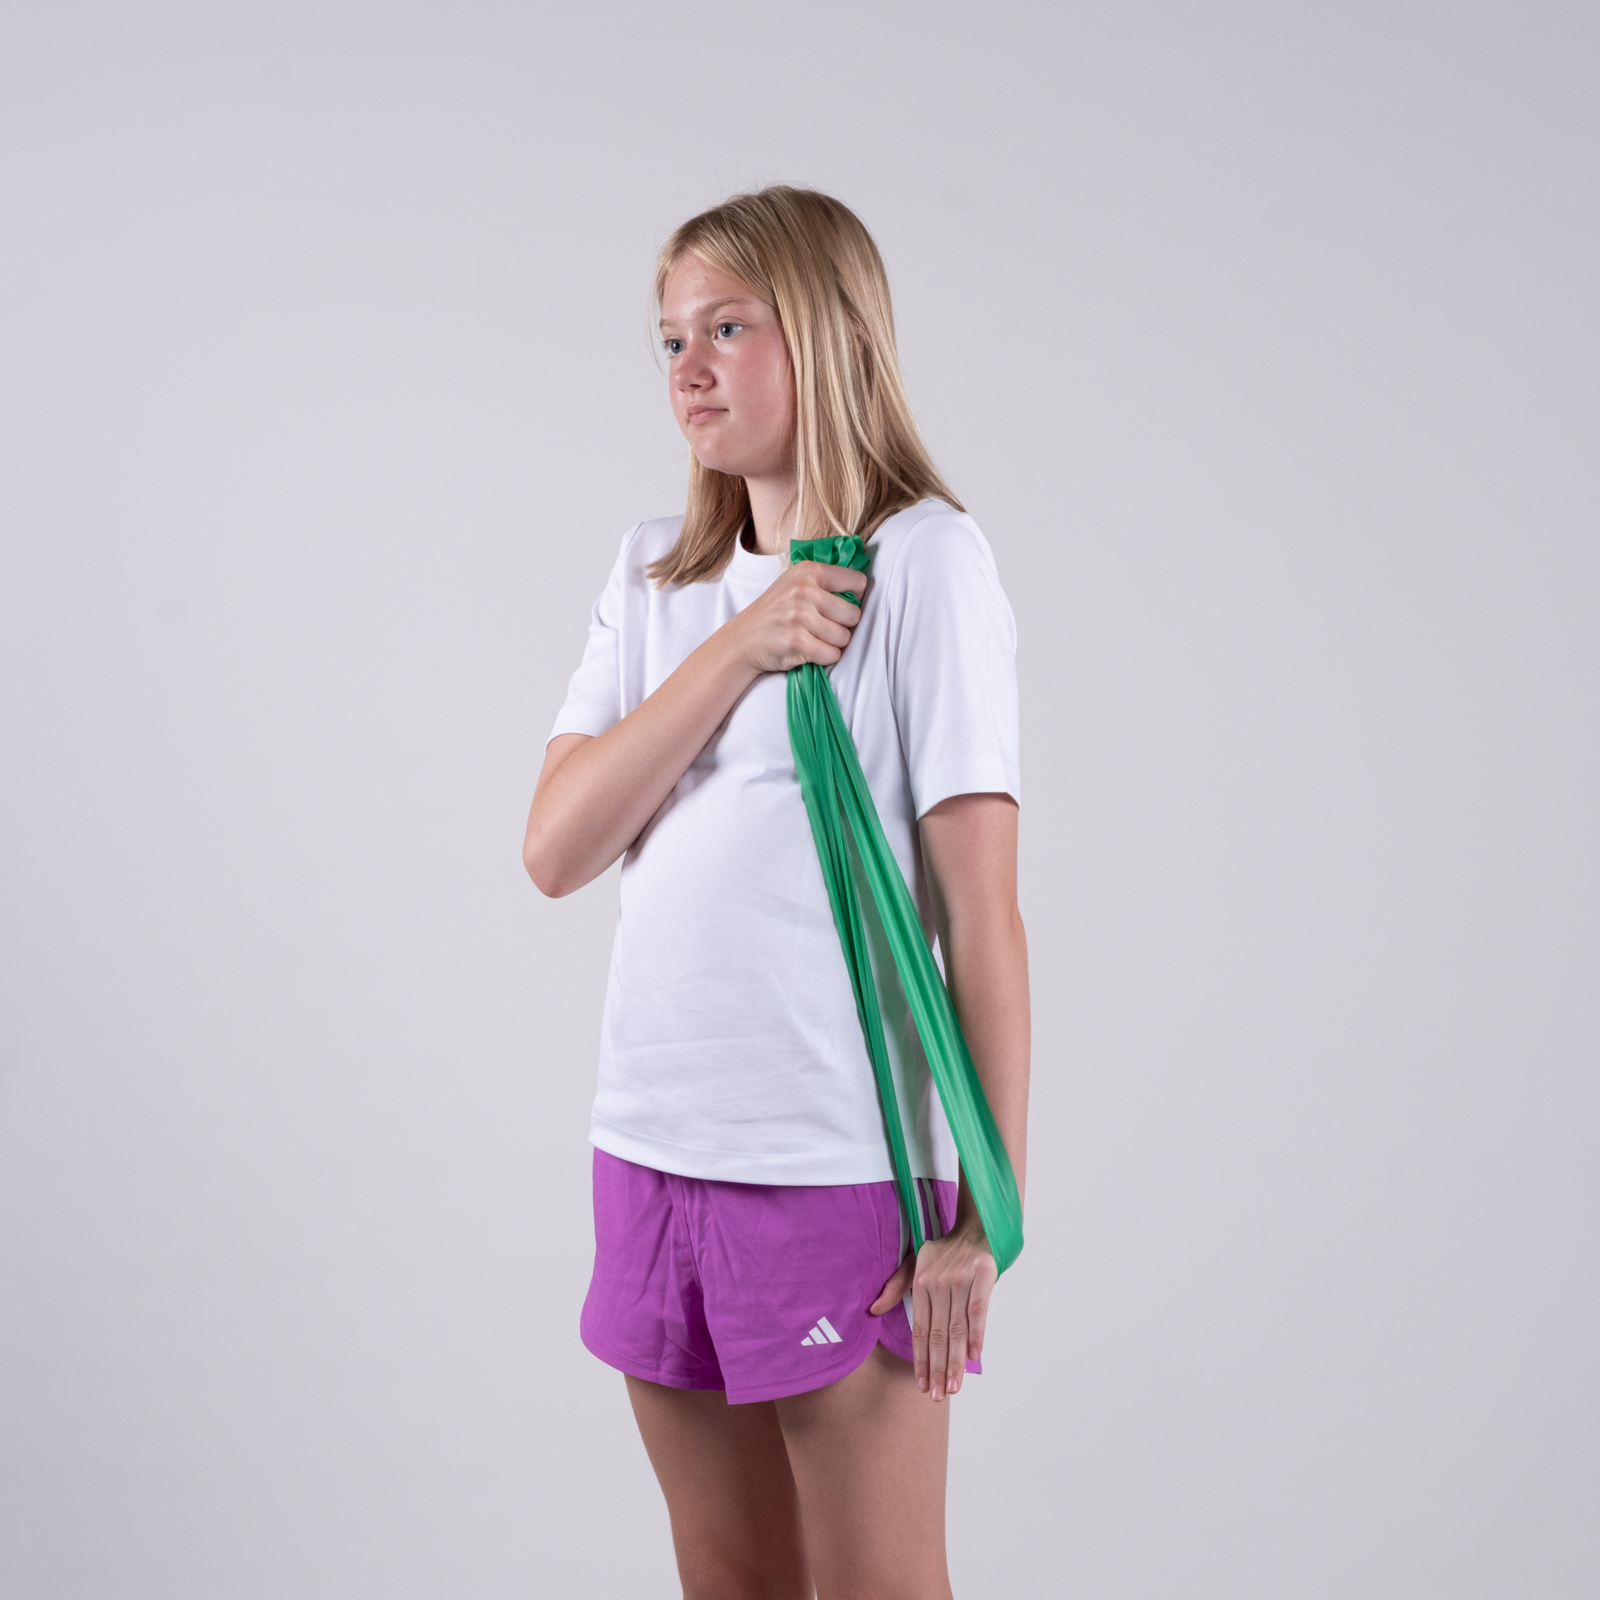
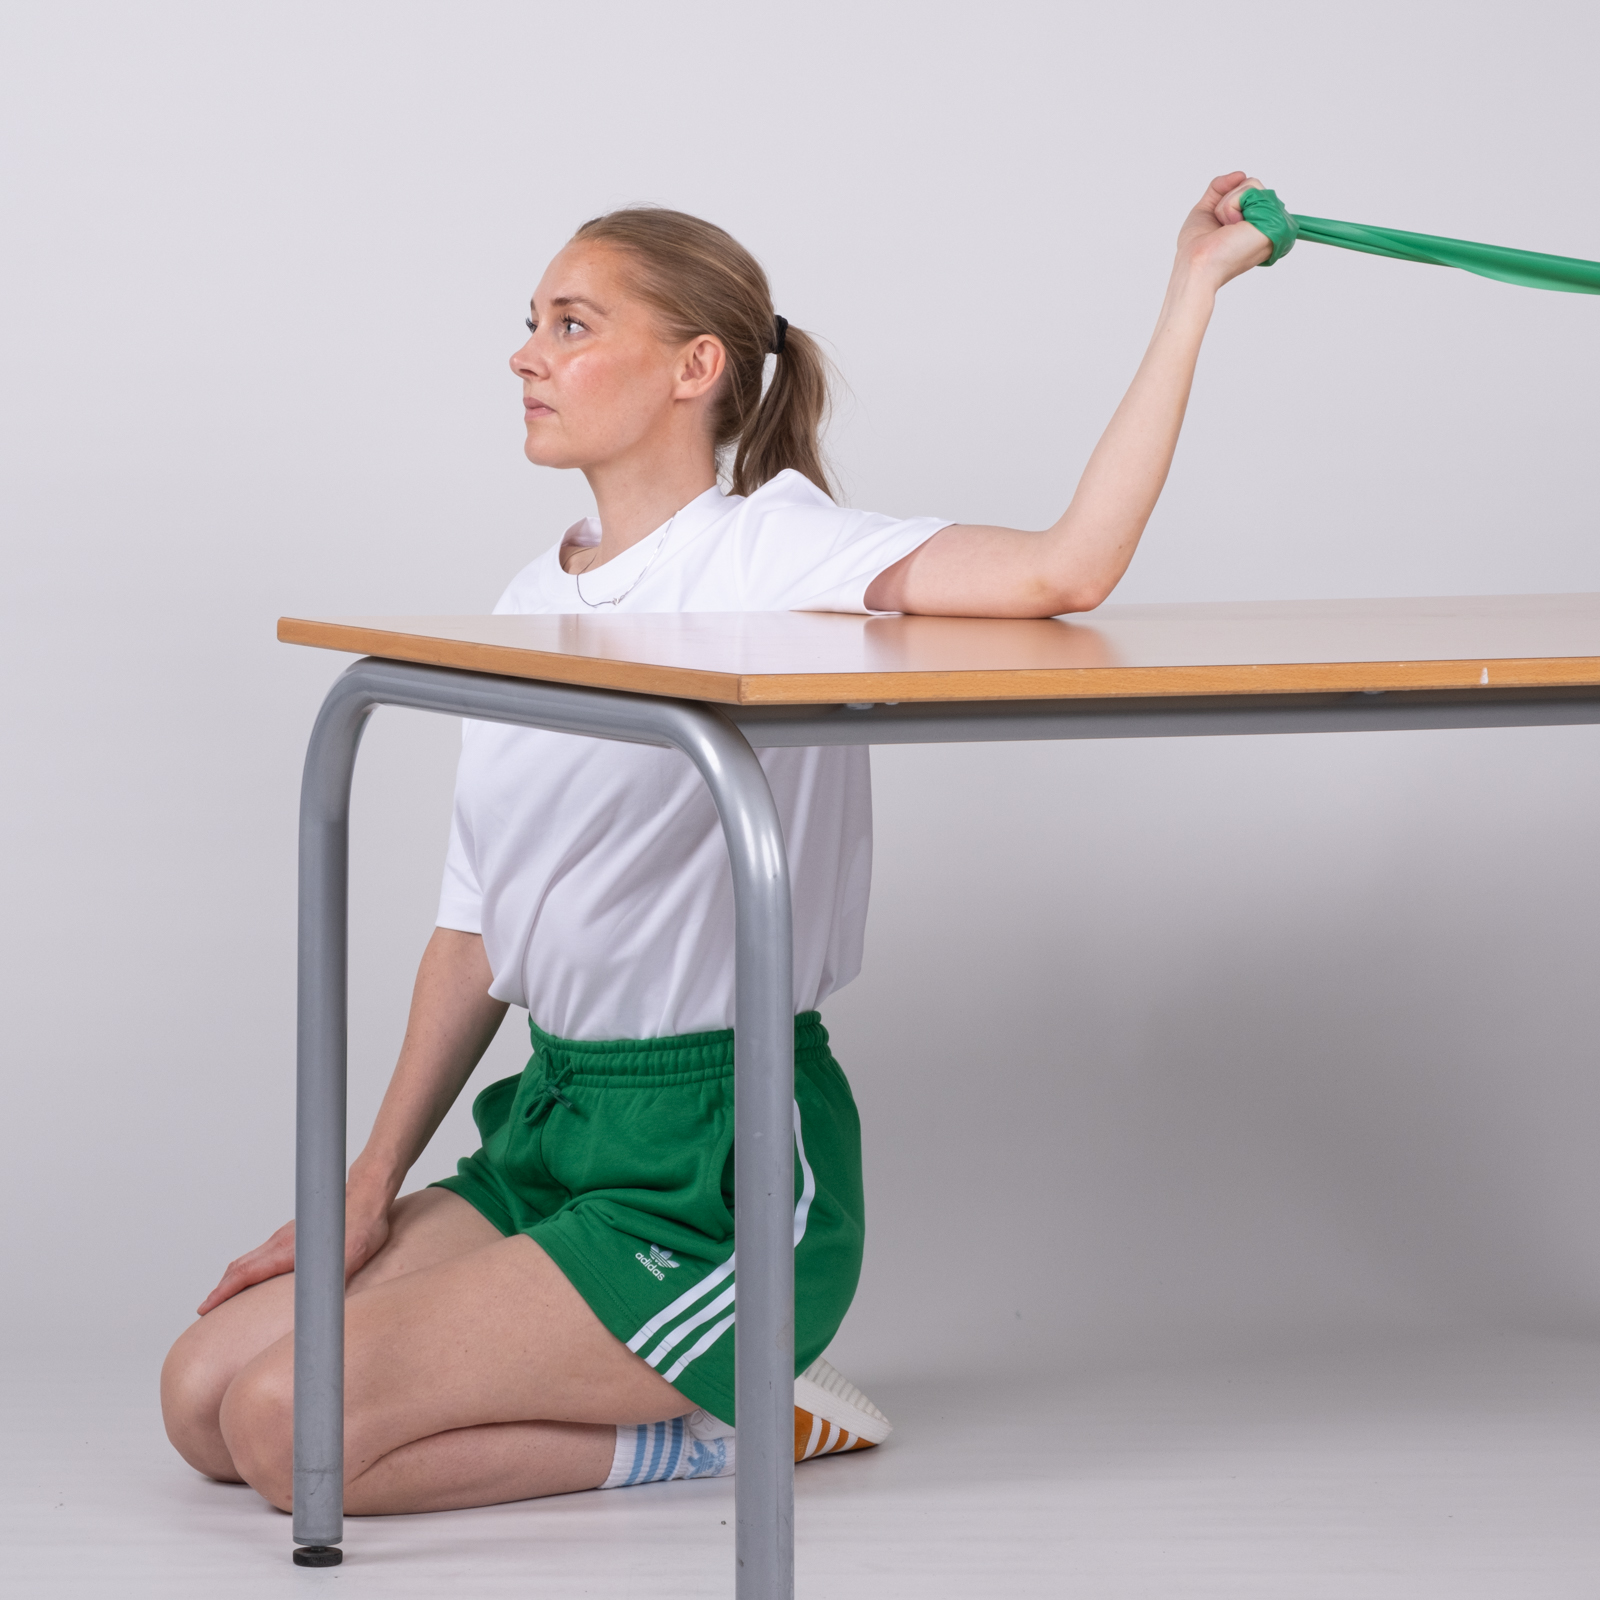
Hold an exercise band in your good hand, in front of the shoulder of the arm you are exercising. With your elbow bent, grasp the other end of the exercise band with the hand on the arm you are exercising. Slowly lower the arm you are exercising towards the floor, so that the band tightens. Hold the tension for a few seconds, then slowly bend your arm back to the starting position.
Stand with a ball and hit it into the ground so that it bounces back and forth between the training arm and the healthy arm.
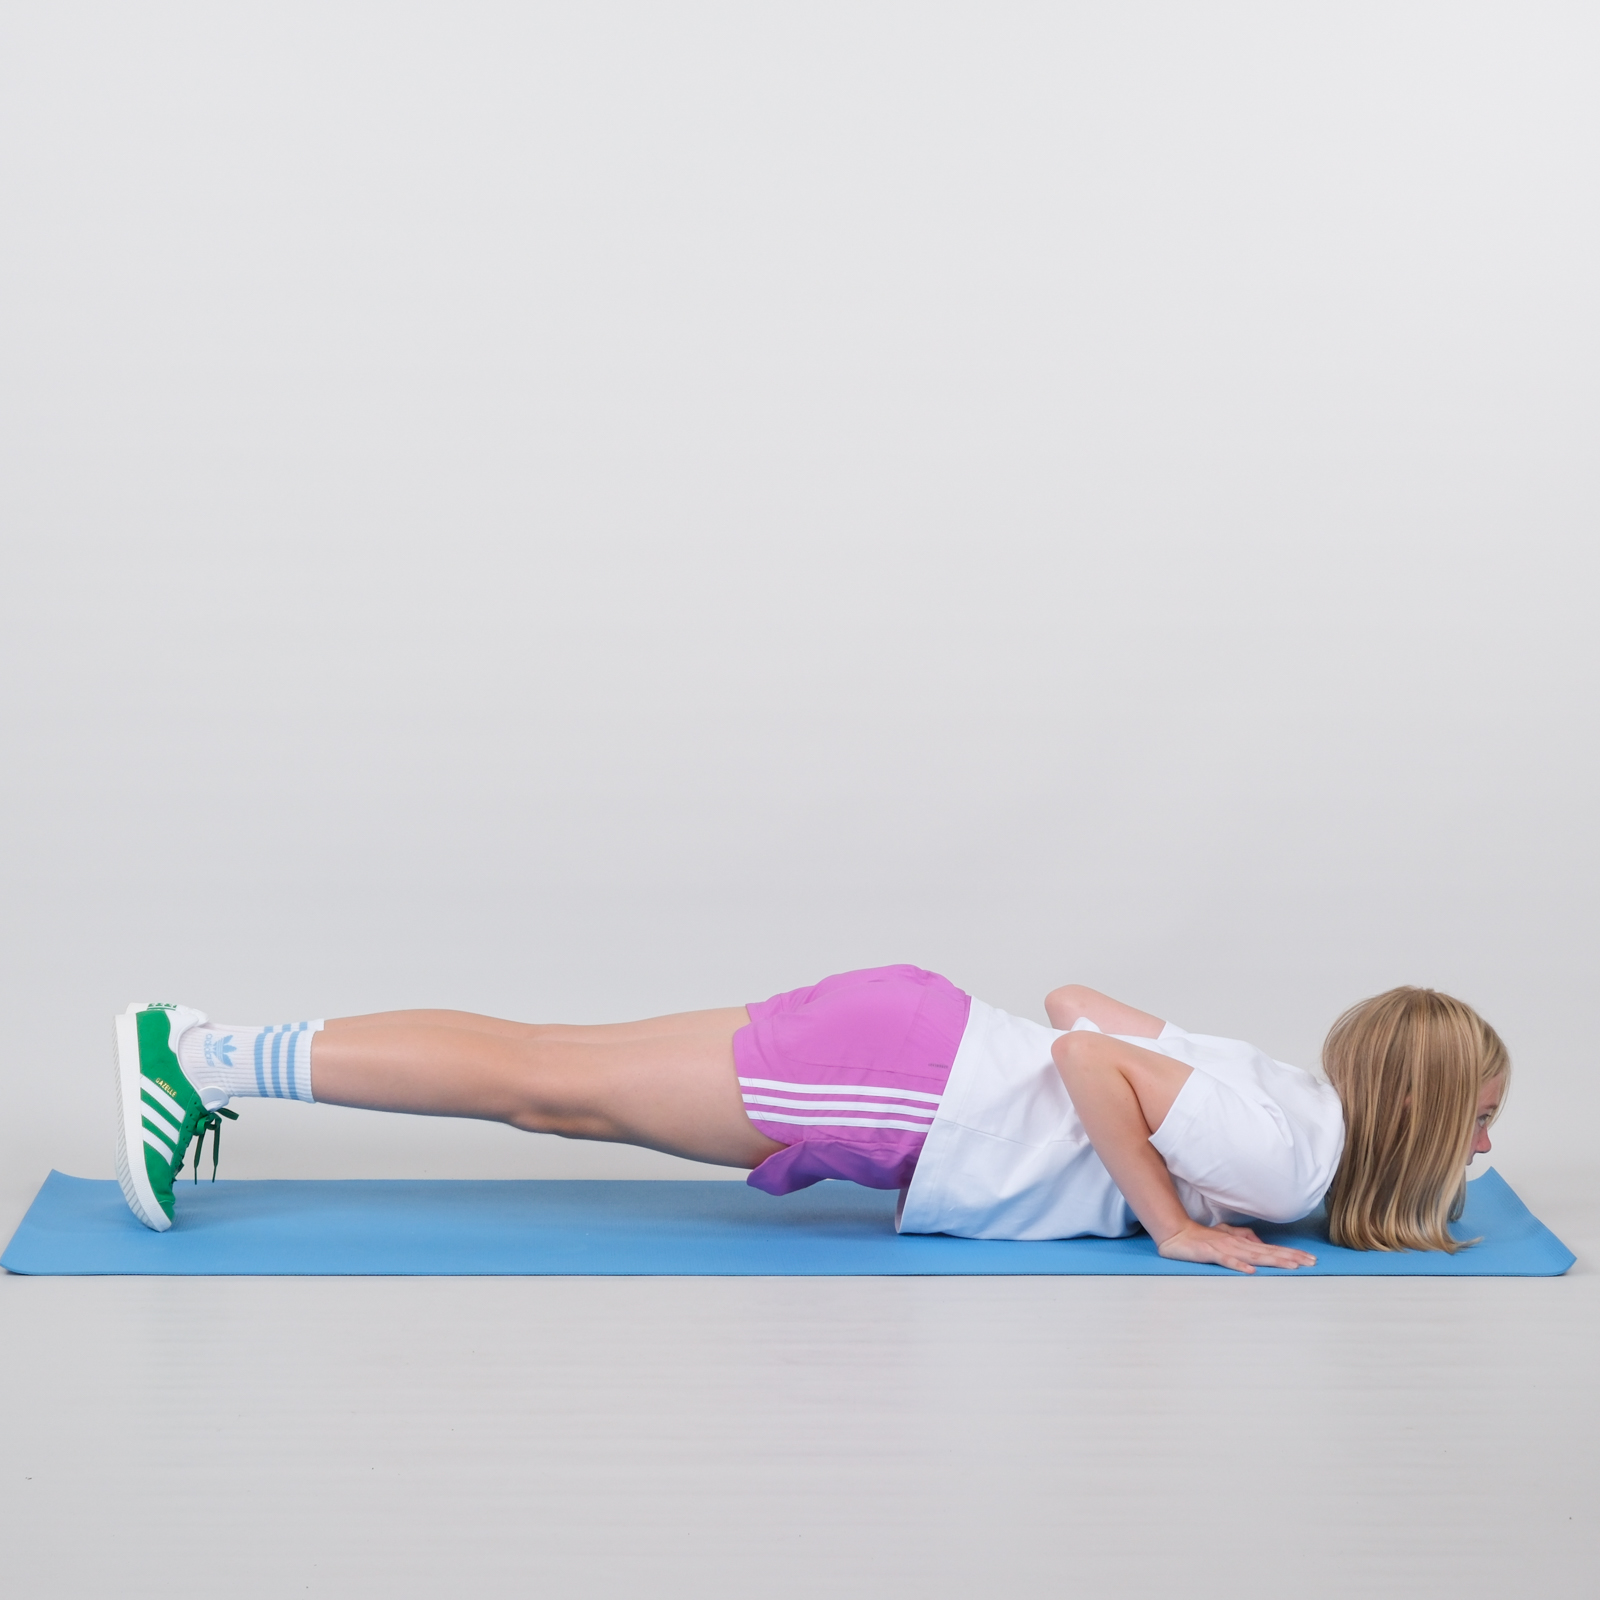
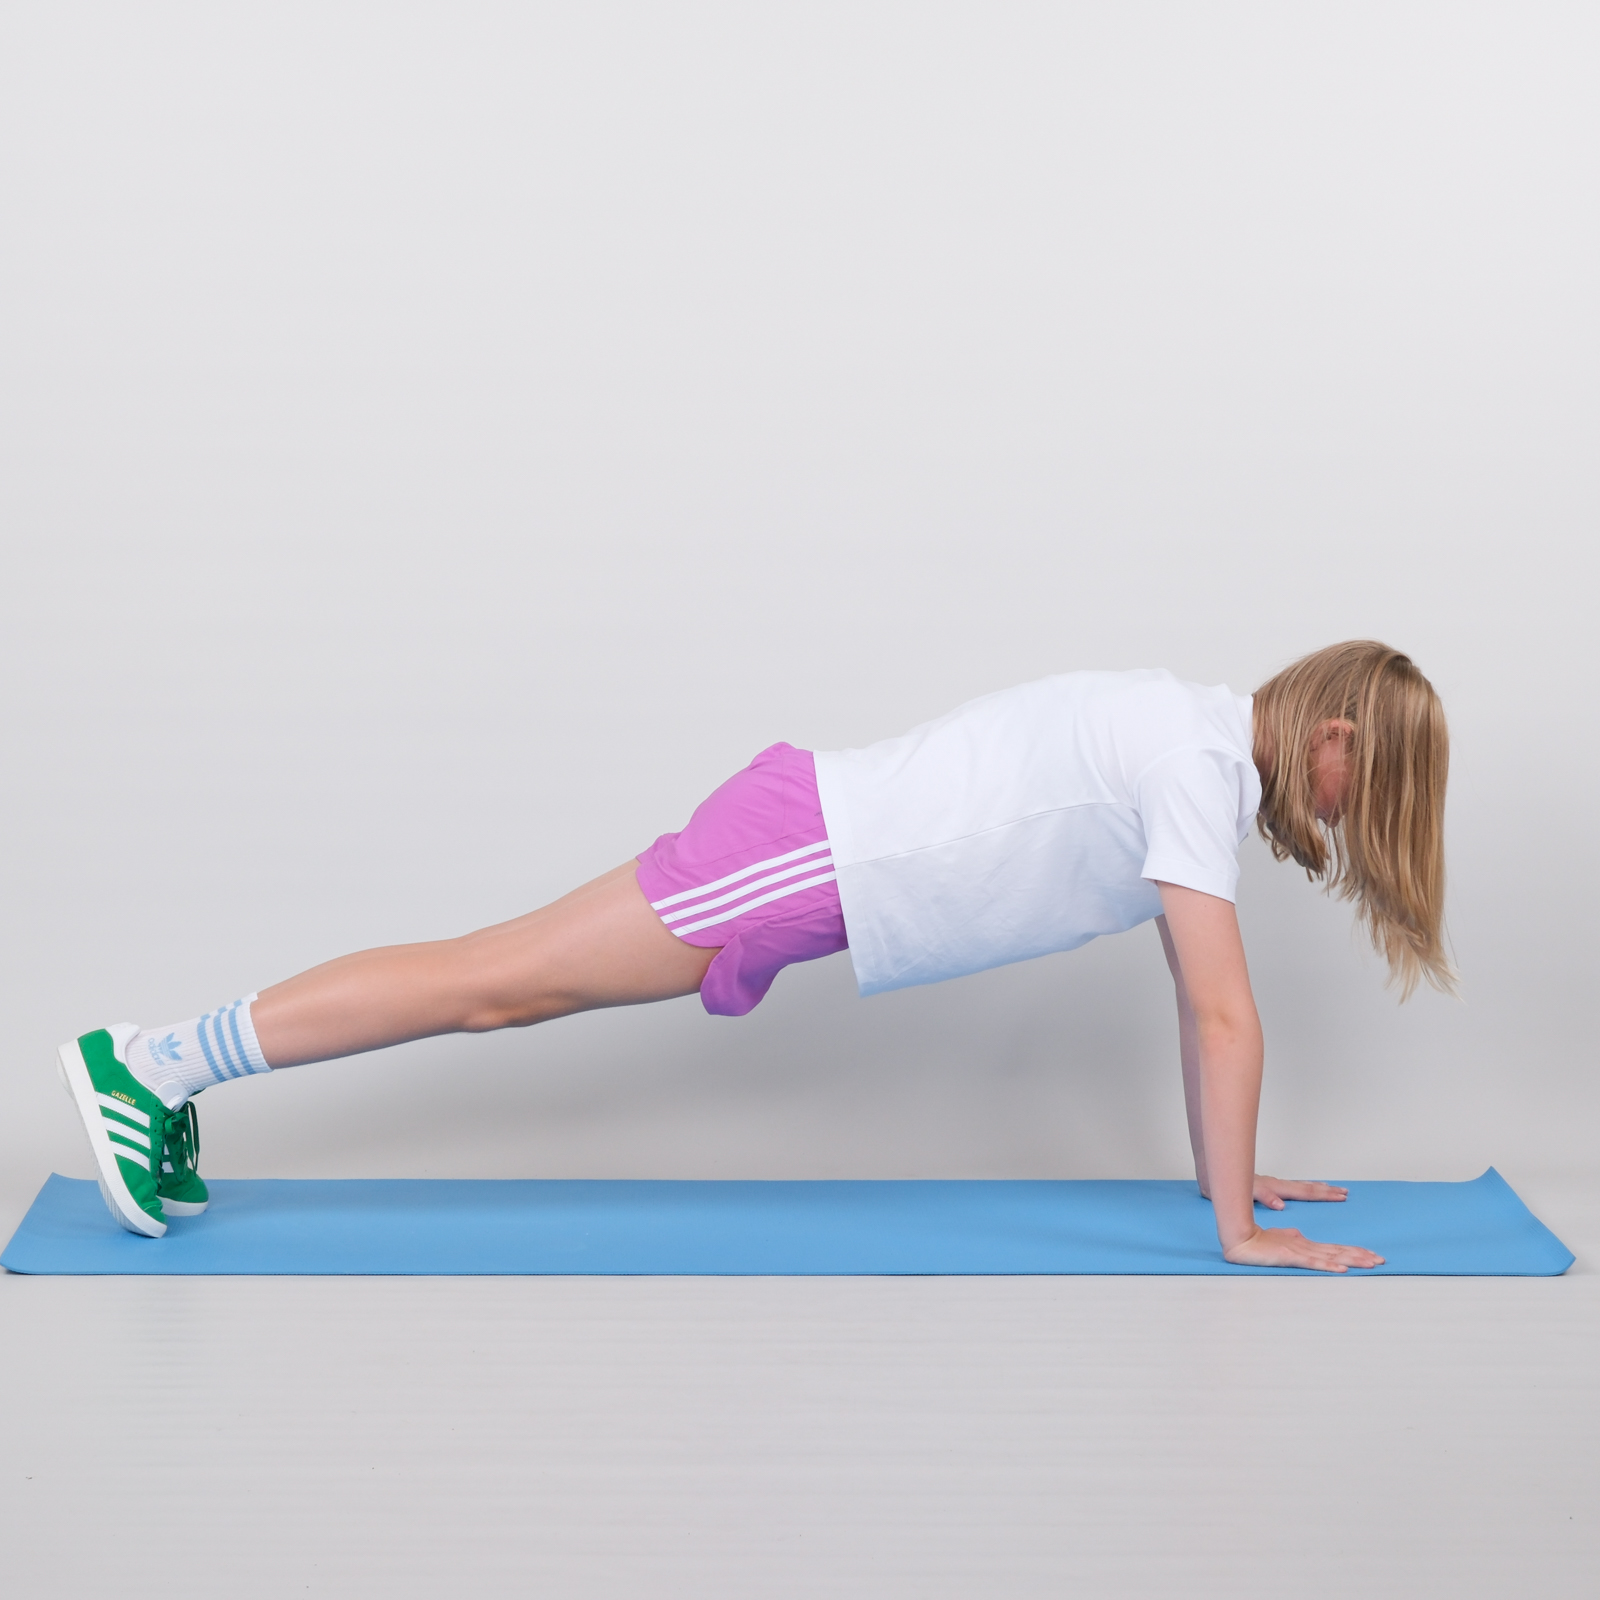
“Push-ups.” Lie on your stomach with your hands directly under your shoulders and your fingers pointing forward. Extend your arms so that your upper body and pelvis are lifted straight up, supported only by your hands and toes. Your stomach must not touch the floor.
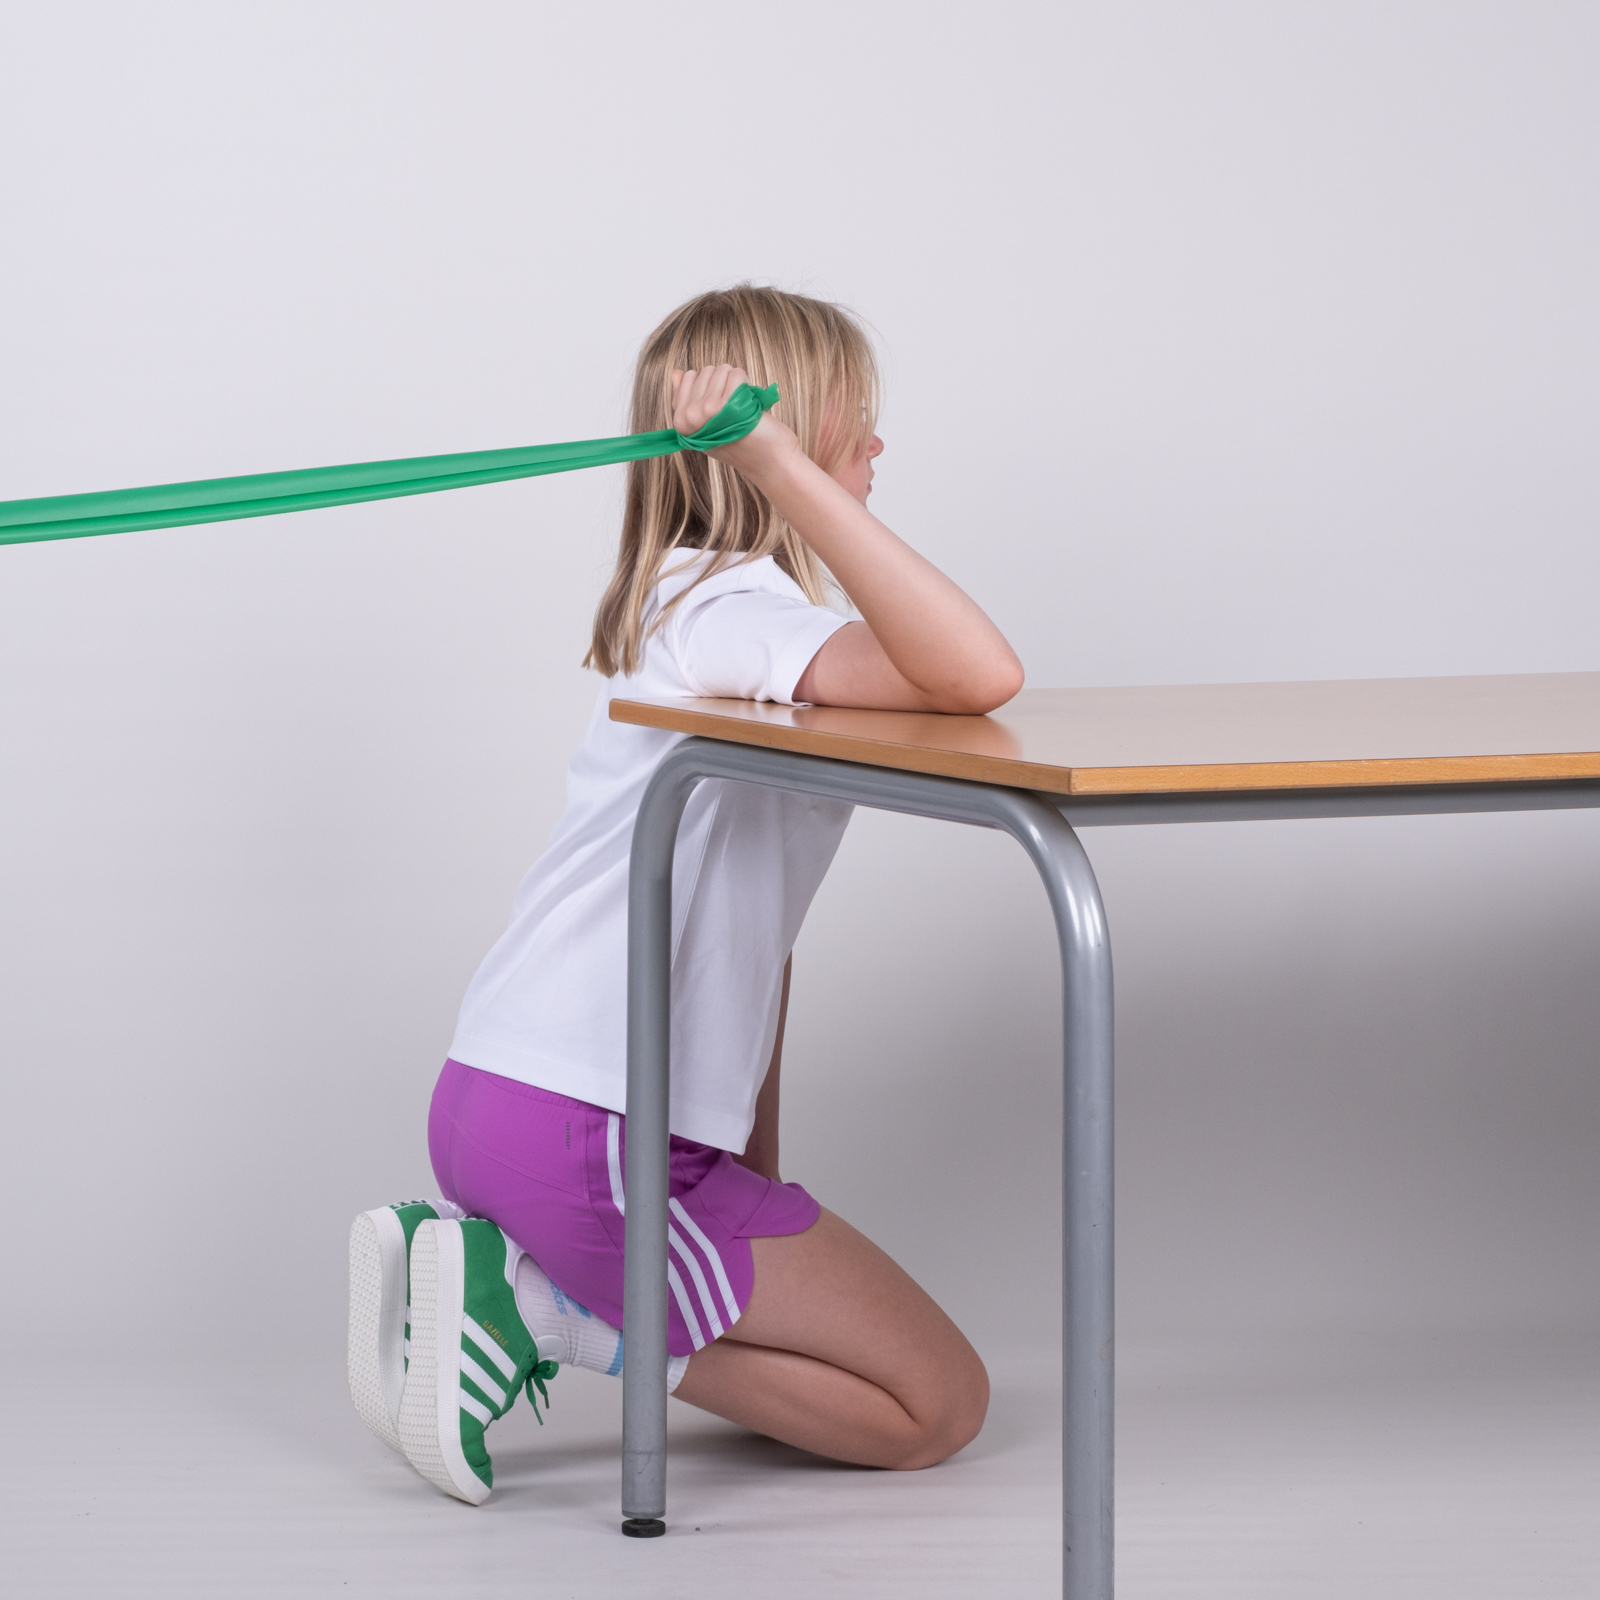
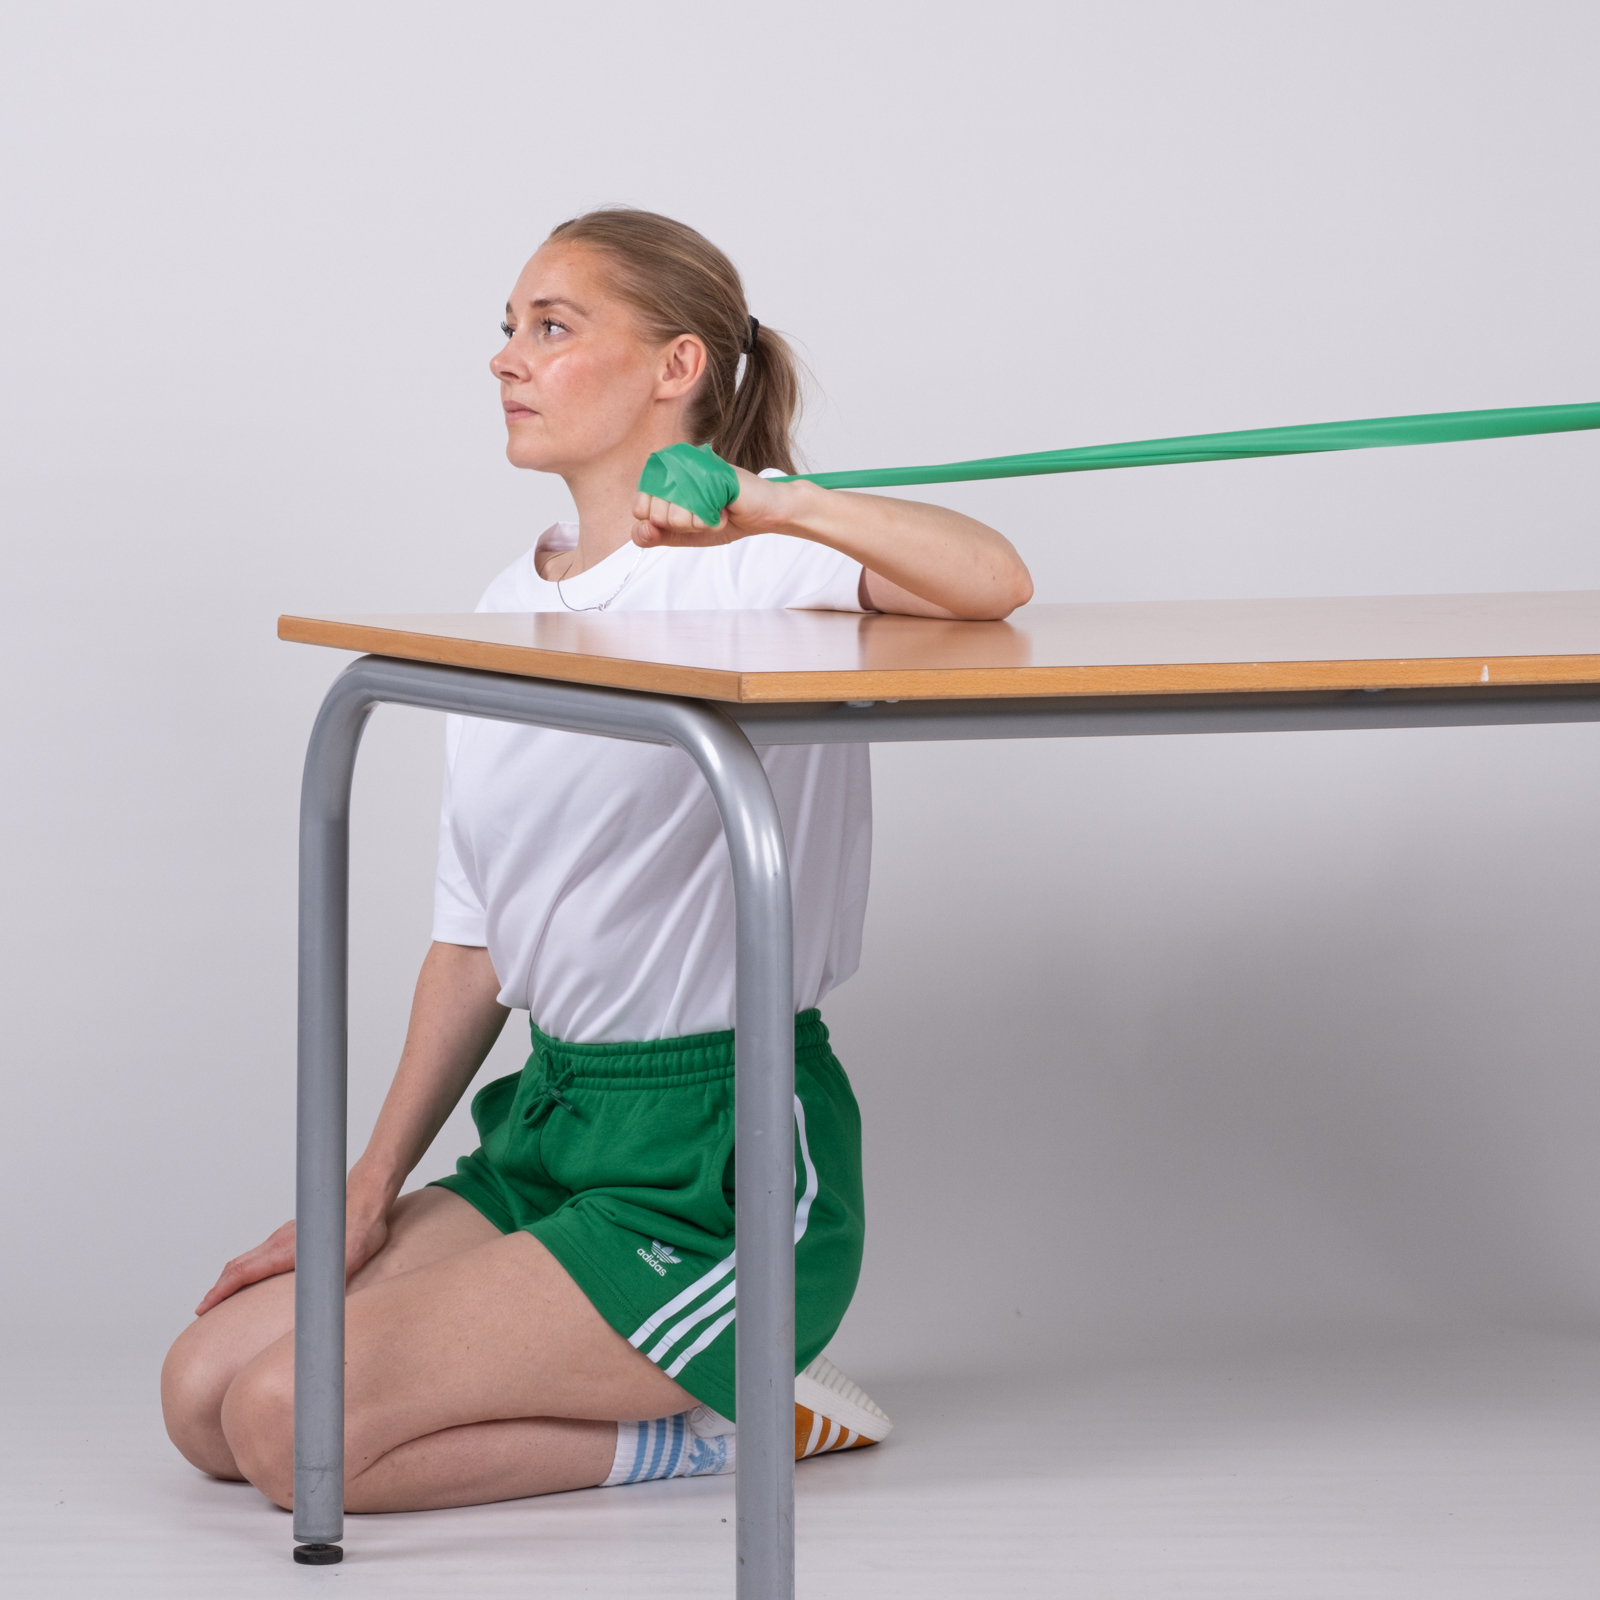
Attach an exercise band at table height. Kneel at a table with your face towards the exercise band. Your shoulder should be level with the table, with your upper arm resting on it and your palm facing the tabletop. Grasp the band with your hand. Slowly move your forearm upwards and backwards so that the band tightens. Hold the tension for a few seconds and slowly lower your arm back onto the table. The back of your hand should face the ceiling/backwards throughout the exercise.
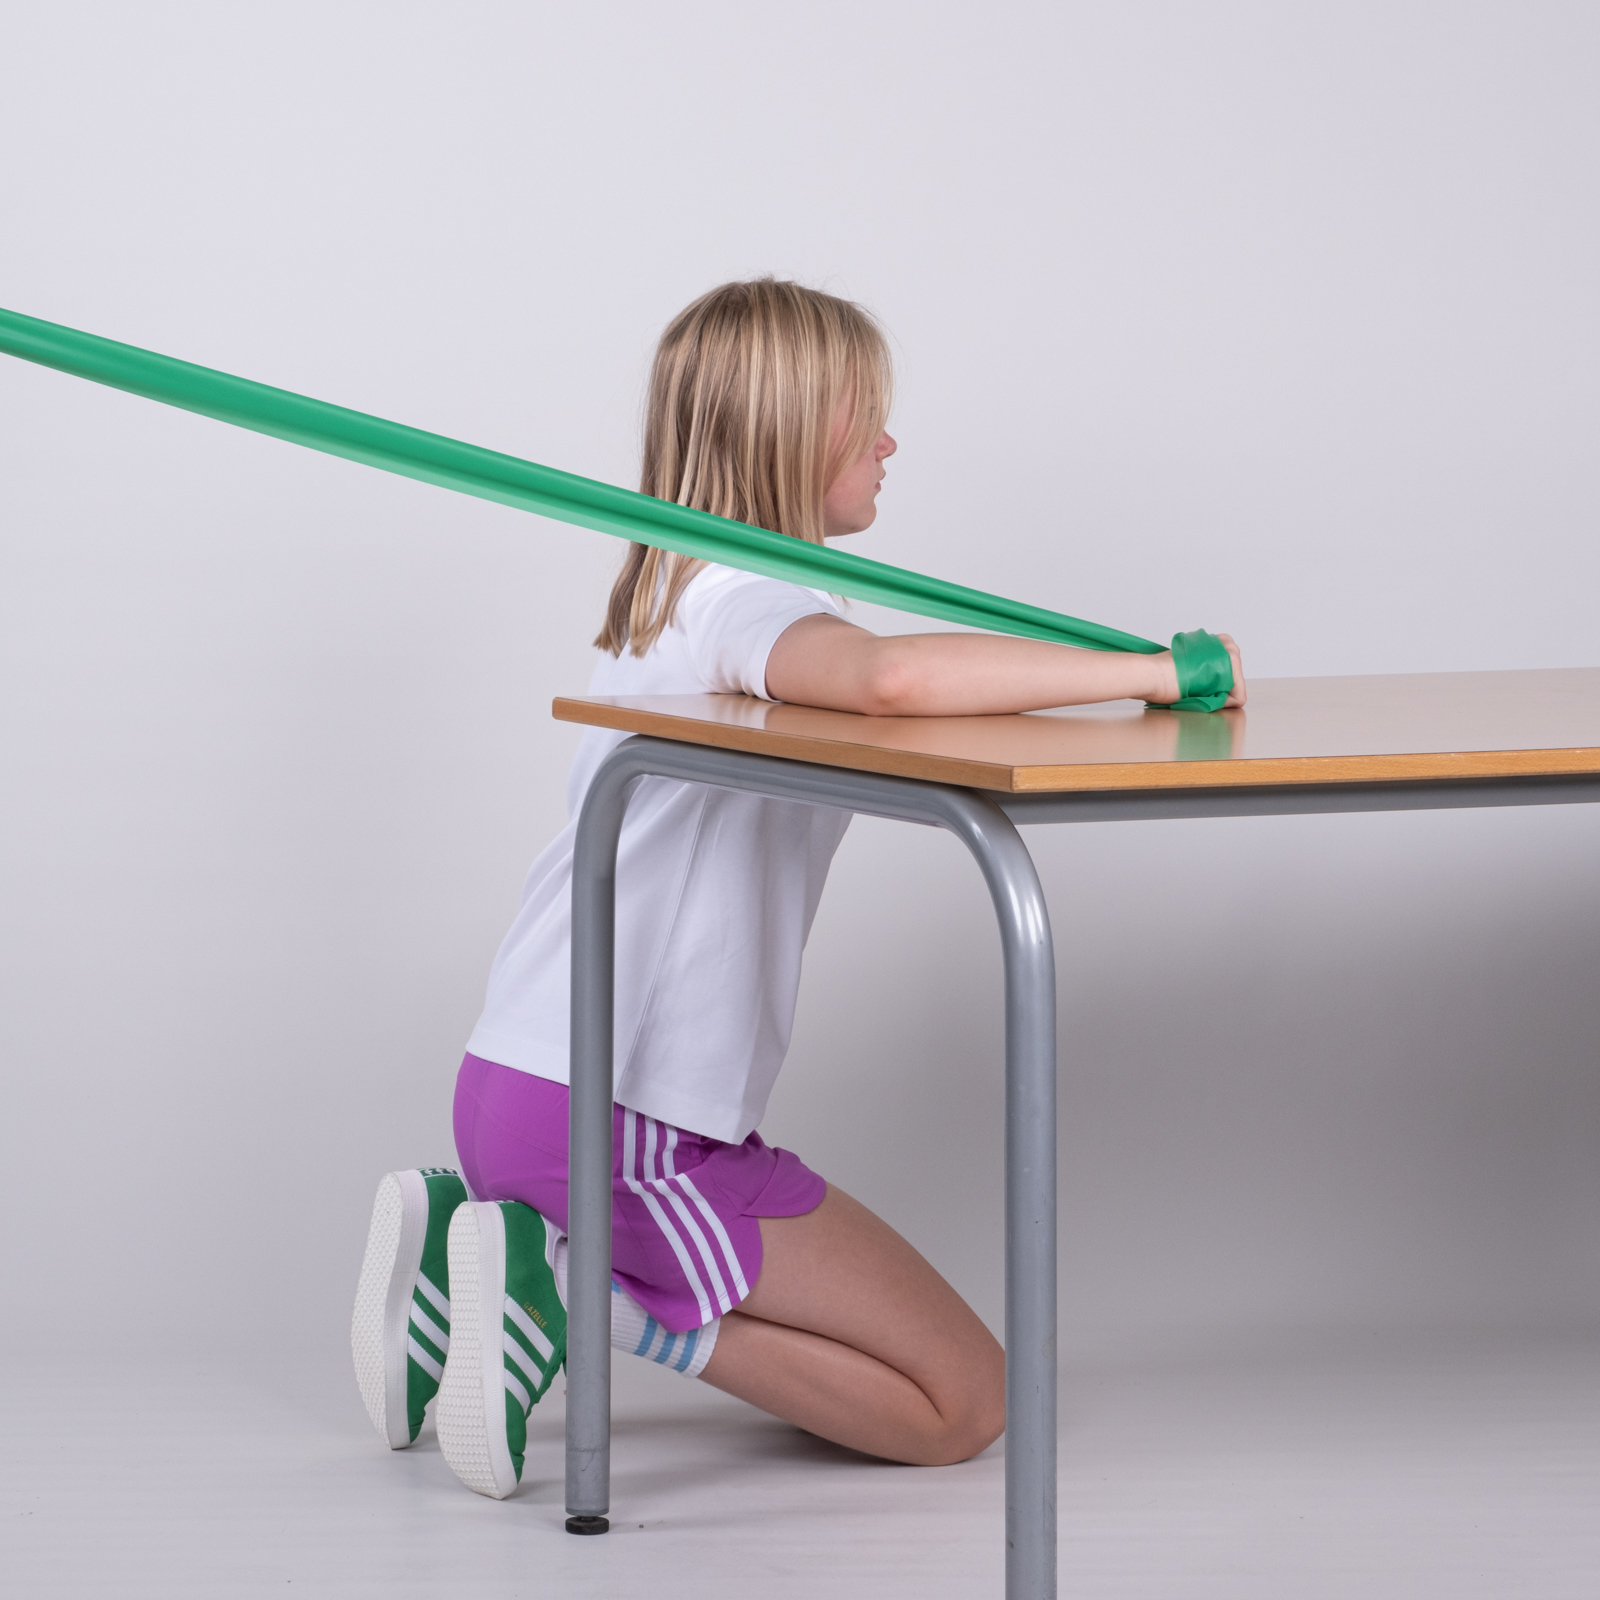
Attach an exercise band at table height. Kneel at a table with your back facing the exercise band. Your shoulder should be level with the table, on which your upper arm is resting. Rotate your upper arm upwards and backwards. Grasp the band with your hand. The back of your hand should be facing backwards. Slowly move your upper arm forwards so that the band tightens until your hand is on the table. Hold the tension for a few seconds and slowly return your arm to the starting position. The back of your hand faces the ceiling/backwards throughout the exercise.